
Dye doesn’t die, but it does get tired
This is a techie article about dye and about some recent work I’ve done. I think it’s still of some interest to non-dyers, if only as a way of gaining insight into what goes on in the nerdiest parts of my brain. If this just isn’t your thing then I completely understand. Watch for a new posting on some other topic later in a week or two.
—————
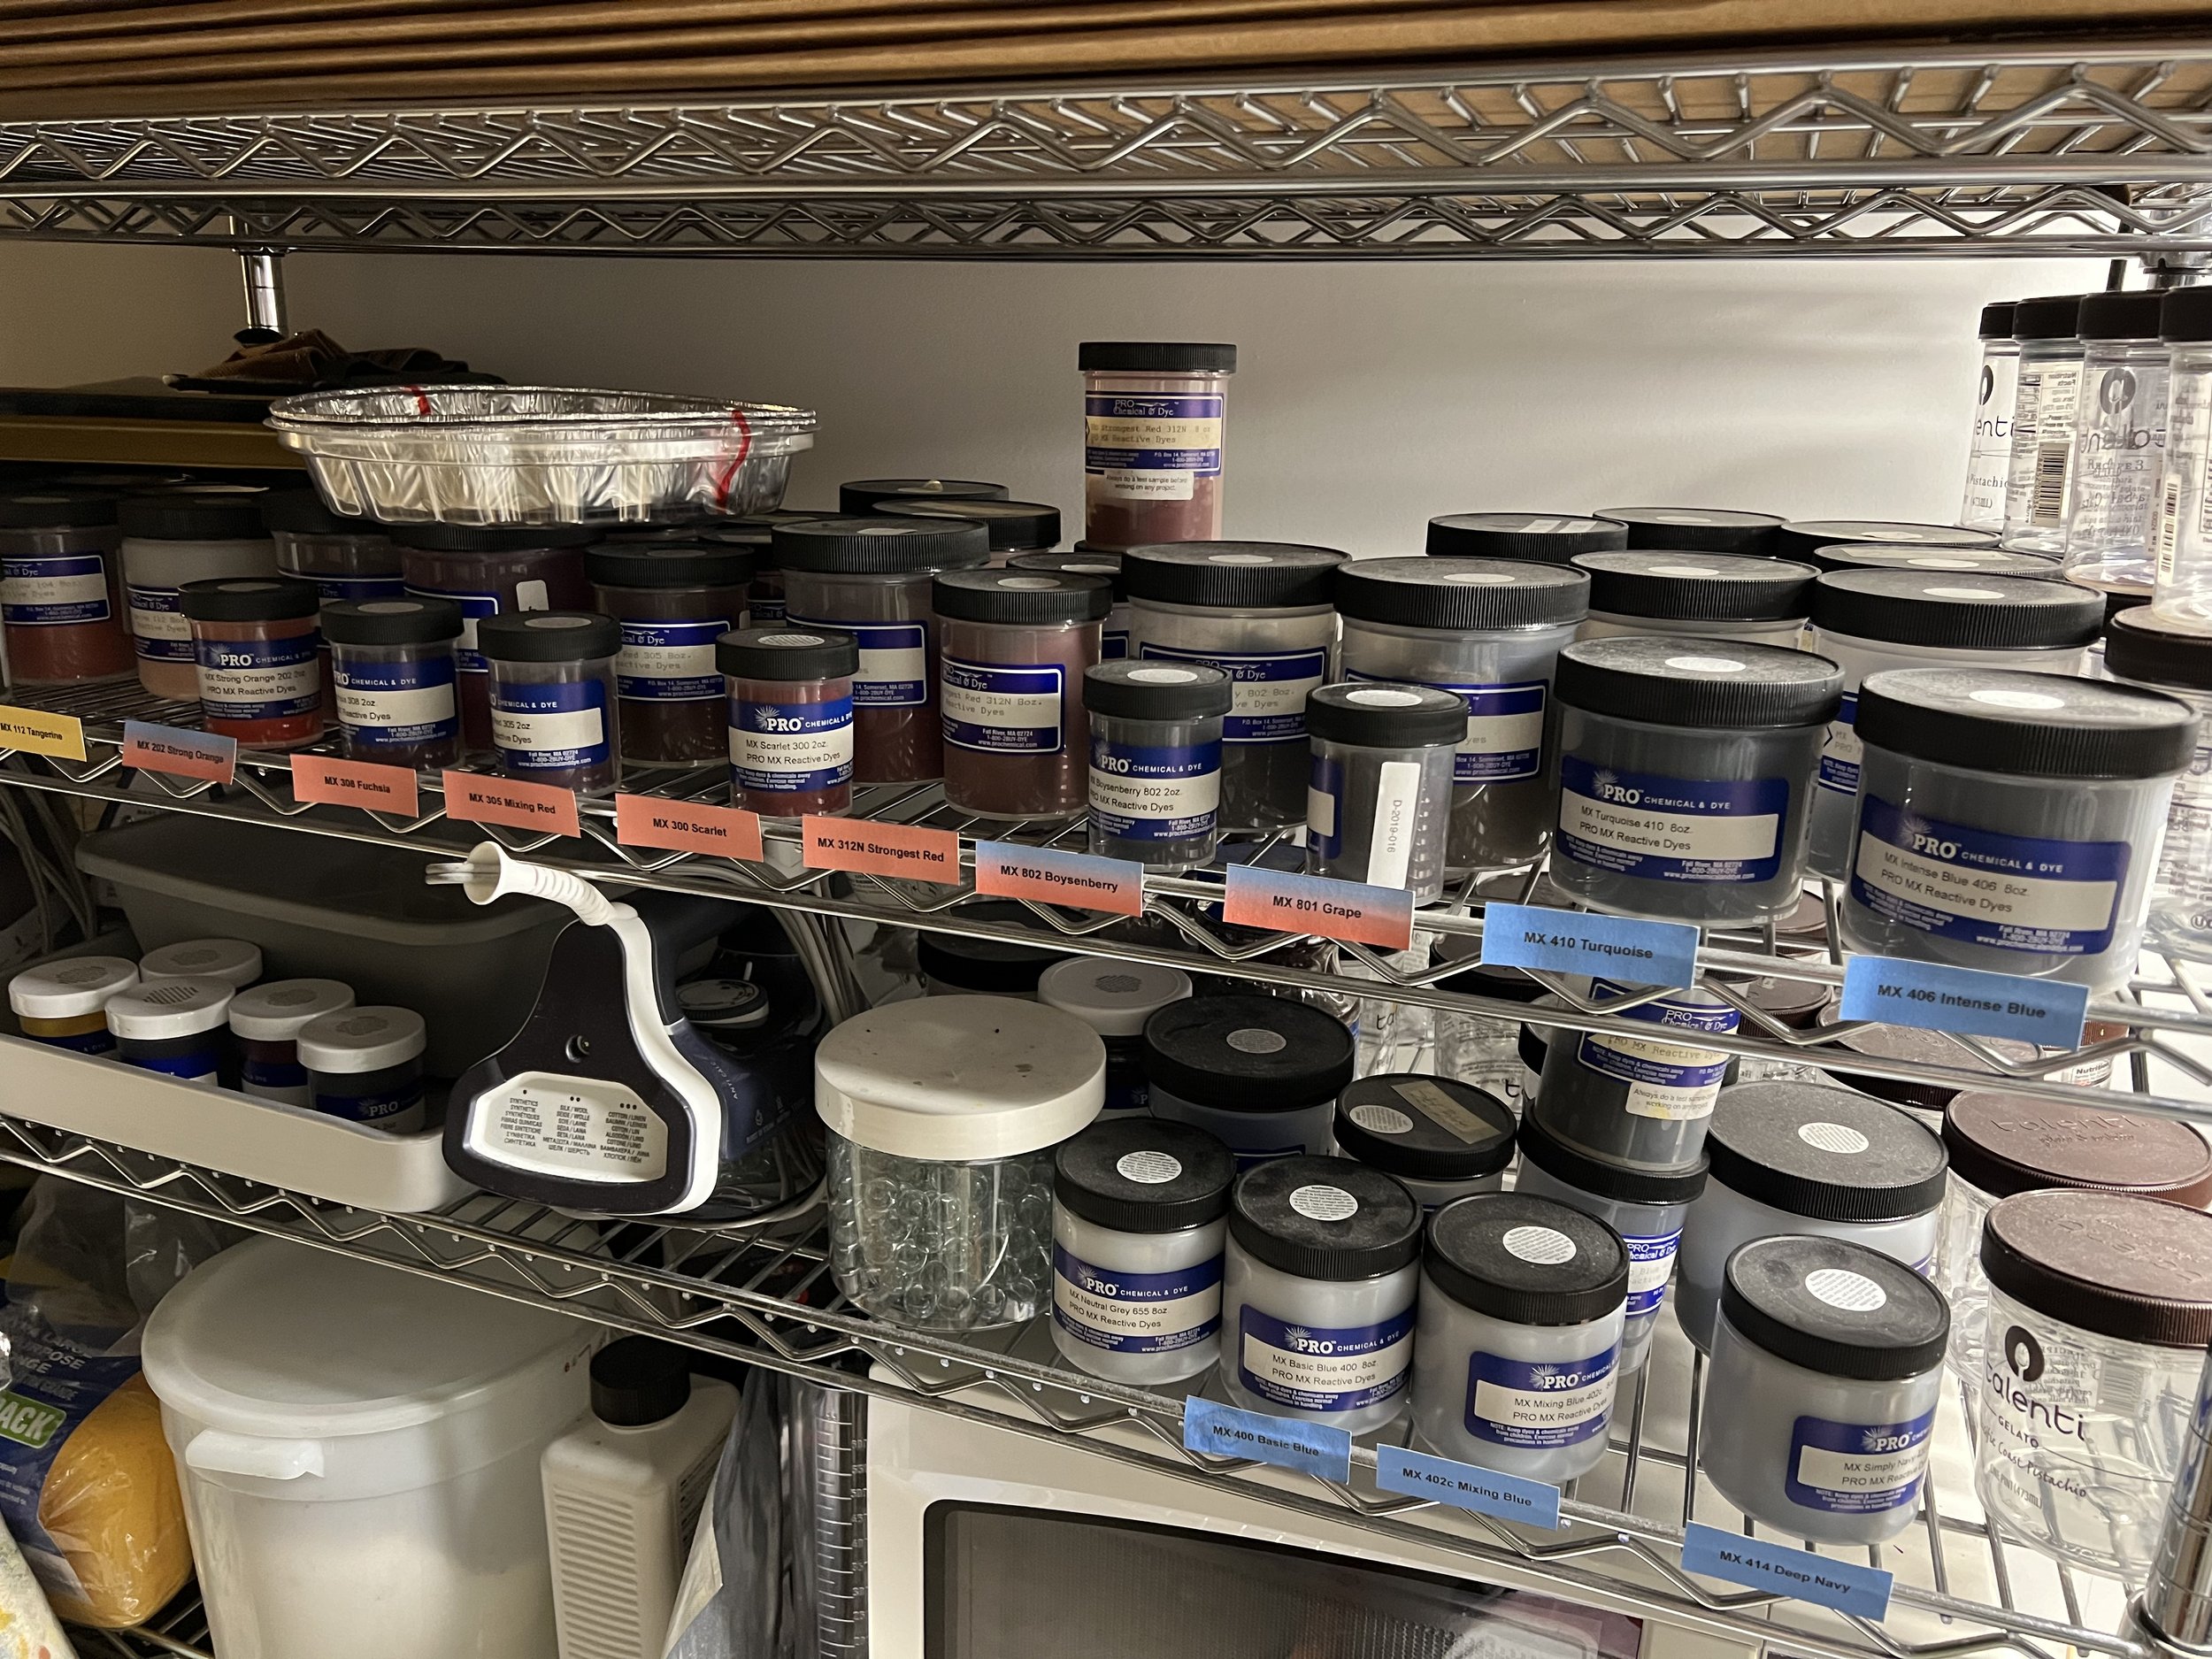
So, here’s the thing: I have a lot of dye (no pun intended). What you see on those shelves are jars of pure MX fiber reactive dye powder. These various yellows, reds, and blues can be combined to produce a rainbow of colors. I know that some of the jars are 13 years old, and others—the first ones I purchased—are probably 1-2 years older than that. I used to do a lot more dyeing than I do today, especially when I was making and selling wearable art scarves.
Why so many jars?
I wasn’t far into my career as a dyer when I learned that MX dye has sort of a a shelf life. I say “sort of” because the dye powder in everyone of those jars can be used to put color on cloth, regardless of age. However, MX dye loses some of its tinctorial strength as it ages. By that I mean that the intensity of color (referred to as depth of shade, DOS) produced by a gram of powder from an older jar of dye will produce less color than an equal amount of dye powder from a new jar. That change can be observed in a year, perhaps less when you consider storage conditions (temperature, humidity, light(?), and tightness of the jar lid). So again, why so many jars? Well, I have binders full of 1” x 1” fabric swatches created with known and reproducible formulas. All of the swatches were created with fresh dye powder, and reproducing those exact colors requires equally fresh powder. As such, when getting predictable color was very important I got in the habit of purchasing new dye about every 1-2 years. That didn’t mean that I’d used up all of the dye I had, so it started to build up. I couldn’t just throw the stuff out. Right?
A short digression about my sample books. These books, and pretty much everything I know about dyeing, came from years of study with Carol Soderlund. She’s the dye muse for more textile artists than I can count. If you want to learn to dye and really understand what you’re doing then seek our her classes.)

A portion of a page from my Soderlund sample book that I created years ago in “Color Mixing for Dyers”.
What to do with all that dye
Perfectly reproducing a known color can be very useful, but it isn’t always essential. Sometimes just getting color onto the cloth and then figuring out what to do next is enough, and older dye can be great for that.
Obviously, there are other times when getting a more predictable result is preferred, but maybe getting into the right neighborhood on one of those dye sample pages can be enough. But, what if an individual older dye has lost half or more of its tinctorial strength? That could (and does) mean that mixing secondaries (oranges, greens, and violets) as well as subtly toned hues from old primaries using known proportions will produce results that are unexpected and usually disappointing. You’d end up getting the wrong hue and probably a weaker overall value than expected. In fact, that’s exactly what happens.
For these reasons I’ve been ignoring my older dyes and feeling stuck on the fence about what to do with them. Recently I began to wonder what would happen if I could quantify the loss of strength in a given jar of dye powder. If I knew how much more dye was required to produce a result comparable to new dye then couldn’t I adjust my color mixing proportions to account for that difference? The answer is yes
What I did and what I learned
I knew that I needed a baseline against which to measure the change in my older dye. In my case that was my Color Mixing for Dyers sample books. I also realized that, while dyeing swatches using the sample book recipes but old dye would allow me to see that the dyes have weakened, it wouldn’t give me a way of quantifying that change. For that I would need a gradation of values dyed using the older dye powder. Steps along that scale from light to dark could be matched up with swatches in the sample book and would give me a known fresh-dye recipe and a corresponding old-dye recipe. A also knew that this needed to be done first and foremost with the individual primary colors. The image below shows a gradation of red dye in my sample book and swatches I dyed in the last few days. I found the best corresponding swatches between the two scales, figured out the difference in dye powder required to produce them, then averaged those differences to come up with a single adjustment factor for that particular jar of red dye. (I tried regression and piecewise linear interpolation, but simple averaging seemed to produce the best result). After doing the same for a yellow dye and a blue dye I had three numbers that I could use to adjust the sample book formulas to account for the behavior of these three specific older jars of dye. And it work pretty well.

The image below shows a sample dyed using the formula for the swatch label 431 on the swatch page. The quantities of yellow, red, and blue dye were altered using the adjustment factors. The test swatch is a little blotchy and the match isn’t 100% perfect, but I’m satisfied.

If there was any doubt that the adjustments were making a difference, I dyed another swatch using the same formula but with no adjustment. In the image below the lighter swatch was produced by the unadjusted formula. Remember, both swatches were dyed using the same older dye powder. The only difference is smart adjustment.
Lessons for the future (and things you might consider doing)
I’ve learned a few valuable lessons from this little exercise:
While this isn’t a lesson for myself per se, it is a critical element to consider. You’re going to have very limited success with this approach if you are measuring your dye by volume (e.g., teaspoons). Consistent results require that you work with dye in solution of a known concentration and measure in milliliters. I generally mix my dye at 5%, which means 5 grams of dye powder added to 100 ml of water, (plus about a tablespoon of urea). Dye powder is mixed at the factory with of ingredients referred to as diluents, which are intended to adjust the overall weight of the dye powder to produce a consistent result. It’s about weight not volume.
As much as I love my sample book, what would have been most useful in evaluating the difference between old and new dye was a set of baseline swatches dyed at the time I purchased the dye. So, if I’d dyed a 6- or 8-step gradation using progressive dilution (e.g., 10% OWG, 5%, 2.5%, etc.) when my dye was fresh then done the same thing when it was older I could have compared the two and possibly gotten a more accurate adjustment factor with less fuss. It’s definitely worth taking the time to do this kind of swatching on new dye if you don’t plan on using it all within six months.
Let’s end with a pretty picture
The gradations below are fat quarters dyed with 5-year old dye powder and I’m delighted with the result!
Hey kids, pay attention to your math and science teachers. That stuff might come in handy, even if you grow up to be an artist.
