How I clean up studio artwork photographs
Do you photograph your own artwork for archival purposes, to publish in print or online, or to respond for a exhibition call for entry? If so, then you know how important it is to have properly lit, color balanced, and CLEAN photos. And, you know just how hard it is to create them. Too little lighting can obscure detail. Fixing this problem with a longer exposure, higher ISO, and wider aperture bring it’s own problems—noise, shallow depth of field, and possibly blur. Over lighting washes out the image and creates strong shadows.
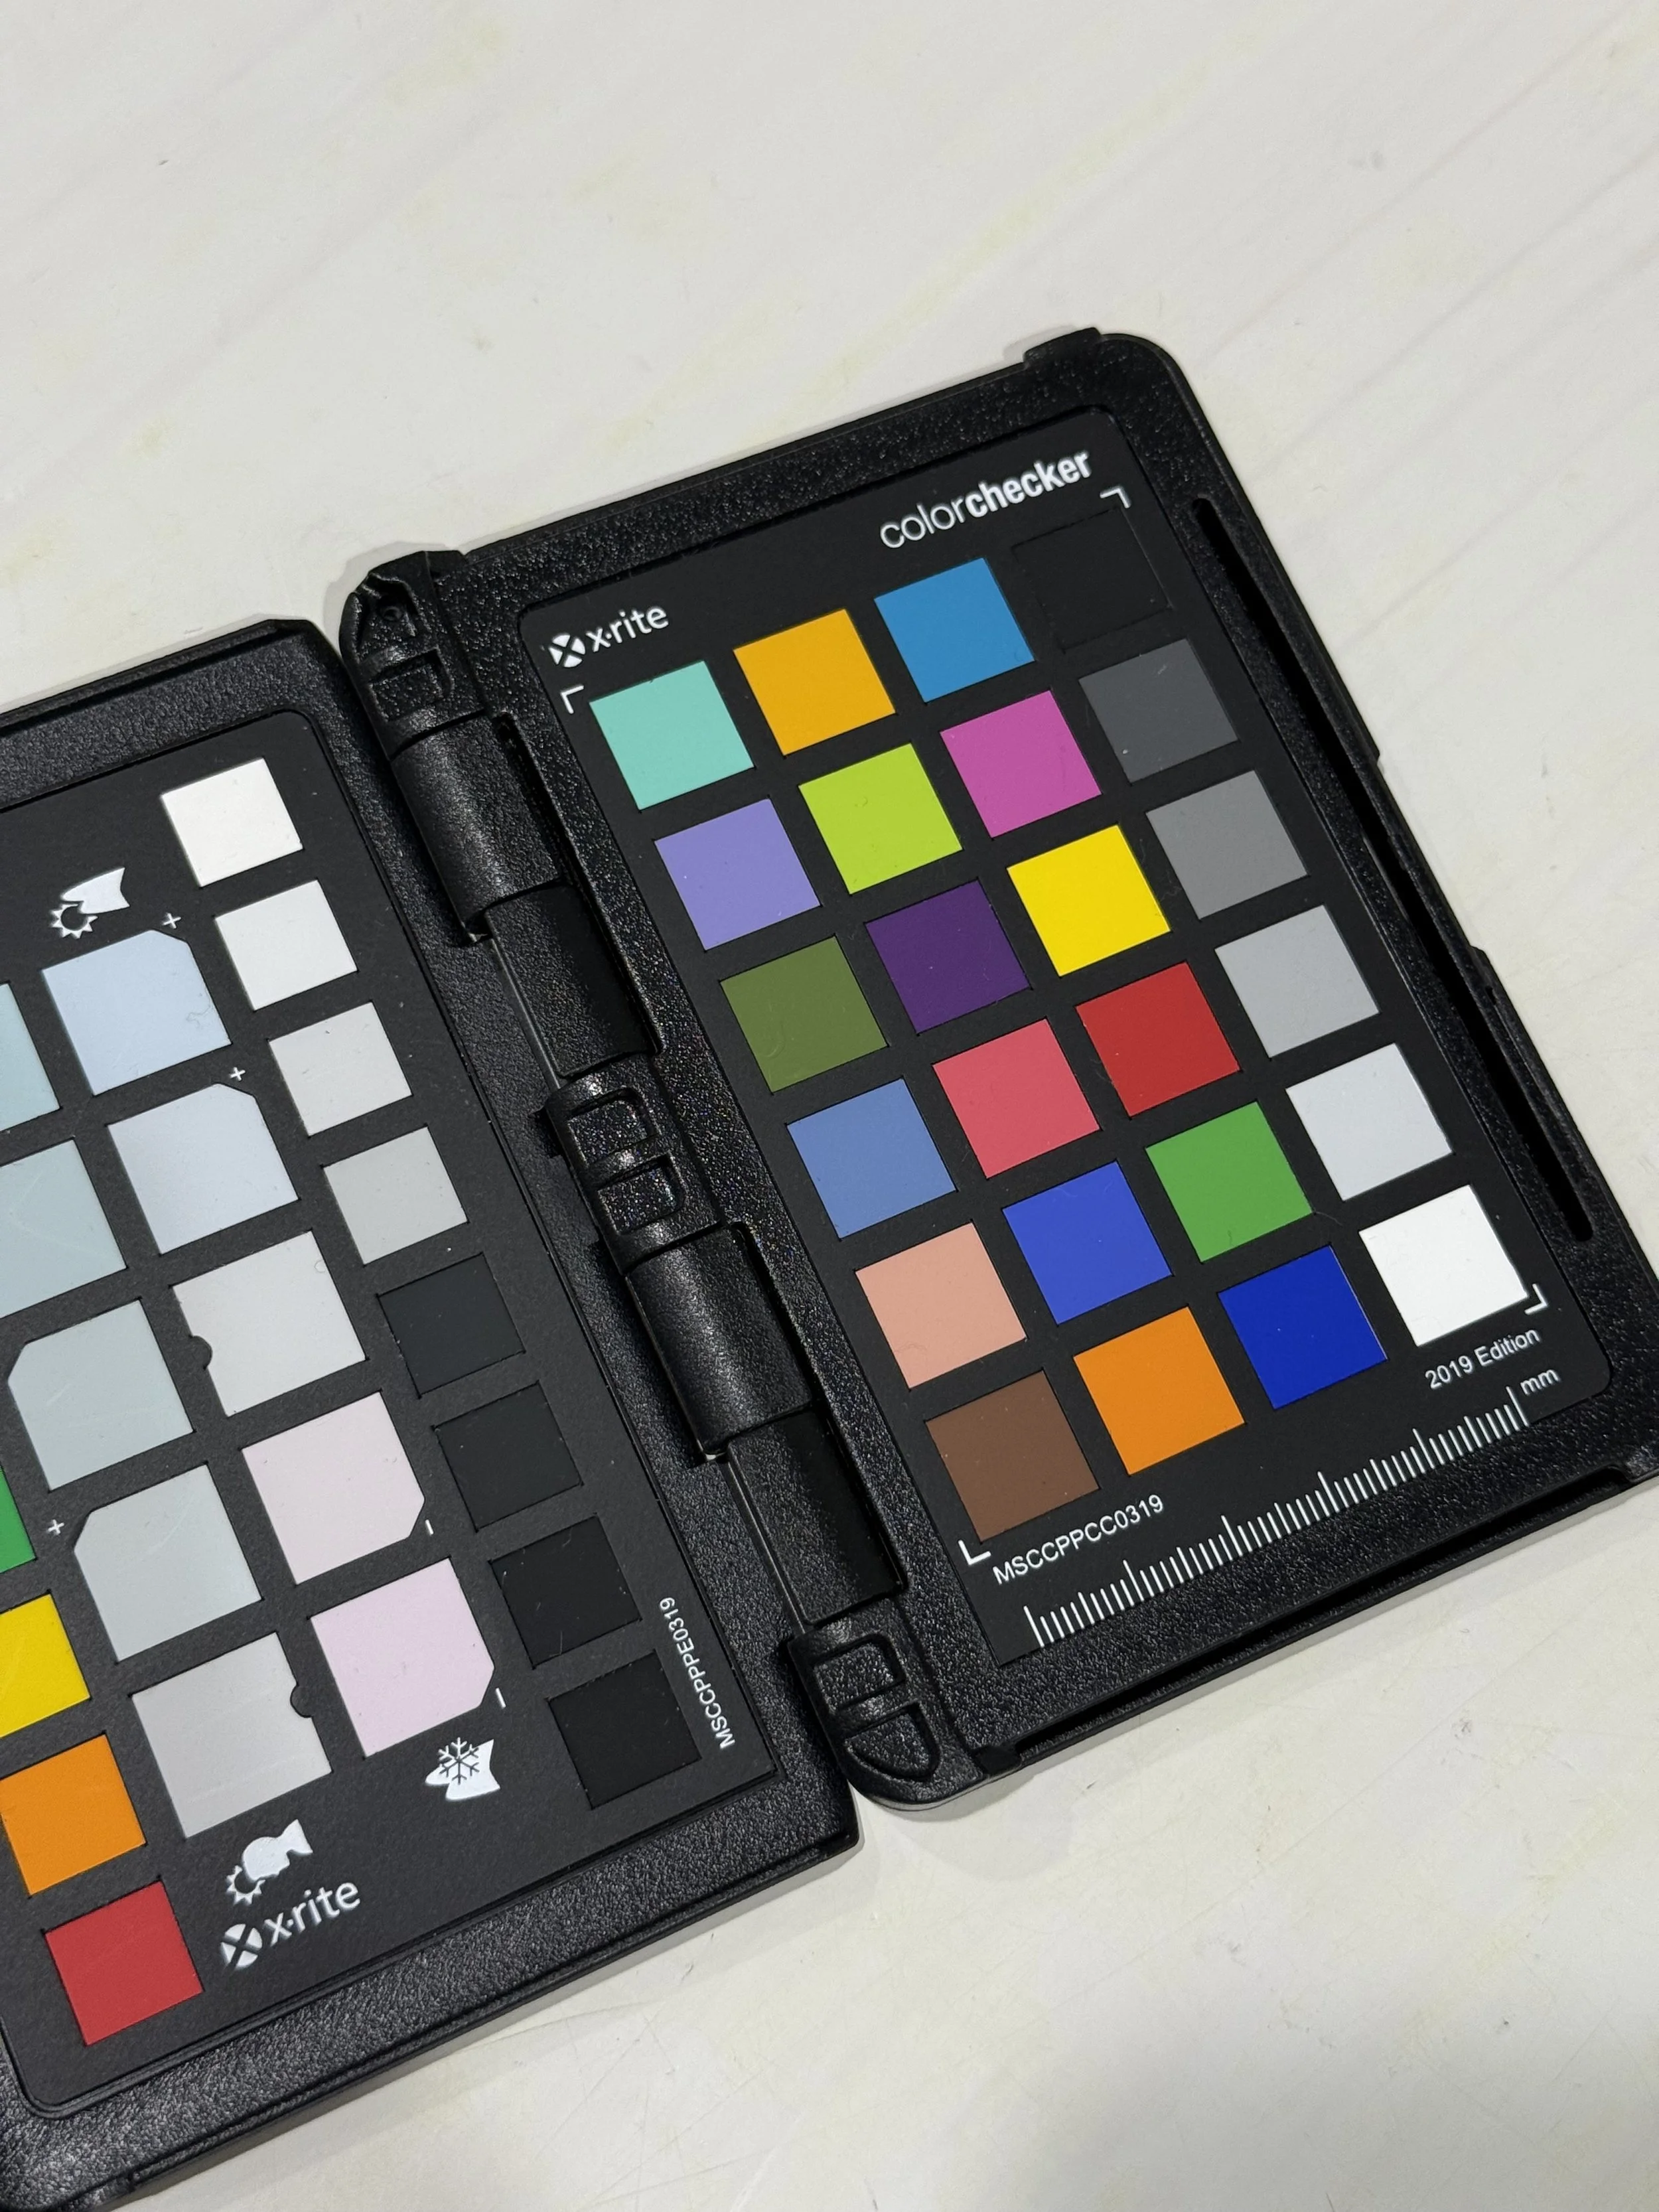
Even after you find the happy medium, you still need to pay attention to color fidelity. Does your image look like the artwork. Here, lighting matters very much, but so does the color of surrounding objects, and your camera equipment. The answer to this problem is color calibration, which I might address in a future post. For now, just know that I include a ColorChecker target in the first exposure of the day so that I can later adjust the images I shoot to account for the lighting conditions. I’m similarly concerned with the appearance of images on my computer display, so I calibrate my monitor before processing images. Once everything is as I want it. I convert my RAW files to PNG format to bake in the color correction. The resulting file should appear correctly on any other color calibrated monitor, anywhere, on any day.
All of those things address the not-so-simple technology that goes into making an image. But what about the display of the artwork itself. By this I mean, how is the artwork arranged or displayed for the photo session? In the case of textile art, is it wrinkled, drooping, or covered in stray threads? It had better not be. However you photograph your artwork (flat, hanging, “arranged”) do your best to make the surroundings as neutral and undistracting as possible. In the case of artwork intended to be hung on the wall this generally means photograph it against a clean white background.
All of those things are part of the ideal situation. It’s what I’d expect from a professional artwork photographer. However, most of us don’t have that title on our business cards—I certainly don’t. Try though I might, there are always things that need to be cleaned up in my photographs, in particular with the full images (not detail images showing only part of the artwork). Every application or service has it’s strengths and weaknesses, but after much trial and error with Photoshop, Capture One, and other tools, I’ve settled on Procreate on an iPad as my preferred tool for retouching my images.
First, I do all of the color and geometric corrections—color grading, cropping, rotating, etc., then I export the resulting image in PNG format and import it into Procreate. There I’m able to hand paint a mask around the artwork and use it to eliminate the entire background, leaving it pure white. I can also add a soft drop shadow to simulate the natural appearance of the artwork hanging on a wall.
Yes, indeed, this is truly one of the less-than-glamorous parts of being an artist, but it’s worth it. I invest a significant amount of time and energy in creating my artwork. It deserves a photograph that, quite literally, shows it in its best light.
For anyone who is interested in trying my method to see if it might work for you, I’ve created a “simply riveting” 28:43 minute video showing the entire process, which you can watch on YouTube ( https://youtu.be/SylAdwc83uw).
For reference, here are some of the step-by-step instructions that appear in the description of the video. I hope that you find this information helpful.
Layer names and order (top to bottom)
Layer Mask ⎤Base Layer ⎦ShadowLayer Mask ⎤ *these two get pinched together to form the singleShadow ⎦ "Shadow" layer (above)Base Mask MASTERBase Layer MASTER
Outline of steps
Rename the artwork layer "Base Layer MASTER" and lock it.
Duplicate this layer, unlock it, and rename it "Base Layer."
Create a new layer called "Base Mask MASTER" above "Base Layer."
Draw the mask in black on "Base Mask MASTER" and lock it when done.
Add a layer mask to "Base Layer."
Select and copy "Base Mask MASTER."
Select the layer mask on "Base Layer" then select Paste under the Actions menu (wrench).
Check the that mask is functioning correctly and does not need to be retouched.
Create a new layer called "Shadow" and add a layer mask.
Select and copy "Base Mask MASTER."
Select the layer mask on "Shadow" then select Paste under the Actions menu (wrench).
Select the "Shadow" layer and flood fill it with black.
Collapse (pinch together) "Shadow" and its layer mask.
Select the "Shadow" layer and erase the top and left edges of the black shadow rectangle.
Apply a 15% Gaussian blur to the layer.
Select the entire layer (arrow tool) and move it to the right and down (3 keyboard right and down arrow taps).
Set the layer opacity to 30%.
Turn the layers and background on/off as needed to create the desired output files in PNG format (to support transparency):
— Artwork on white
— Artwork on transparent
— Artwork with shadow on white
— Artwork with shadow on transparent
Shadow parameters
Gaussian blur 15%
3 keyboard arrow clicks right and 3 down
Layer opacity 30%