Thoughts & news
Carol Soderlund's "Neutral Territory"--way more than 50 shades of grey
I've just returned from two weeks at the Crow Timber Frame Barn in Ohio for two outstanding workshops, one with Carol Soderlund (carolsoderlund.com) and one with David Hornung (davidhornung.com). I'll write about David's workshop in a future post. This one is all about Carol's workshop, which was titled "Neutral Territory: 50 Shades of Gray + 50 Shades of Brown."
In her "Color Mixing for Dyers" workshop, Carol teaches the basics of full-immersion and low-water immersion dyeing with Procion MX dyes. The tangible products of the class are a head full of knowledge, Carol's stunningly detailed handouts, and THICK binder that her students affectionately refer to as, "The Bible". This reference volume contains thousands of dyed 1-inch square fabric samples (made in class) to document the cubic color model for several combinations of different yellow, red, and blue dye. It's amazing, and I use my notebook almost every time I'm in the dye studio.
So, why all of the description of a workshop that I took 6 years ago? Well, "Neutral Territory" builds on "Color Mixing." Every combination of three pure MX dye primary colors has the potential to create a neutral black, warm black, cool black, etc. The trick is finding the right proportions of yellow, red, and blue. What I'm telling you is that I paid good money to spend 5 days with Carol and 19 other students mixing untold numbers (way more than 50!) of very carefully formulated mixtures of dye searching for good black candidates, then creating 10-step gradations of the best candidates to see if what we thought was black was really neutral or had a hue leaning. And, we only scratched the surface of the 80 families (i.e., possible combinations) of yellows, reds, and blues. It was as much about the investigative method as it was about the end result. That said, I'm now the proud owner of another mighty sample book, which might come to be known as "The Apocrypha".
For me, the culmination of the workshop came late on the 4th day when I washed out some silk samples that I'd just discharged and realized that I'd managed to combine what I learned in this workshop with what I'd previously learned in Carol's "Dyeing to Discharge" and "True Colors" to select a dye combination, mix a black by eye, and create a predictable result that I've been wanting for some time now--a black that grades down to a silver-gray and discharges to near white. I love that feeling that comes when deep study in a subject area produces learning that all begins to overlap and intersect.
I count this workshop as another great week spent with an outstanding teacher and excellent mentor. If you have any serious interest in dyeing, I urge you to seek an opportunity to study with Carol. Rest assured, you'll be a better dyer for having done so.
Restructured Circles #3
I finished this piece about a month ago and submitted it for a local show. No luck. It would have been nice to show it, but for some reason I'm not terribly disappointed that I don't have delivery, pickup, and reception on my to do list. Go figure. This is the 3rd completed piece in my "Restructured Circles" art quilt series. The marks are made entirely by discharge and I very happy with the results. The piecing is minimal, by which I mean it's 2 pieces. It doesn't get much more minimal.
When I finished the piece I stood back and said, "OMG it's a cairn." I've been taking pictures of rocks for years, and in the last few years have really become fascinated with stacked rocks. I think this might be the beginning of something. A new direction or a course refinement? To be determined.
Finally finished: Part 4
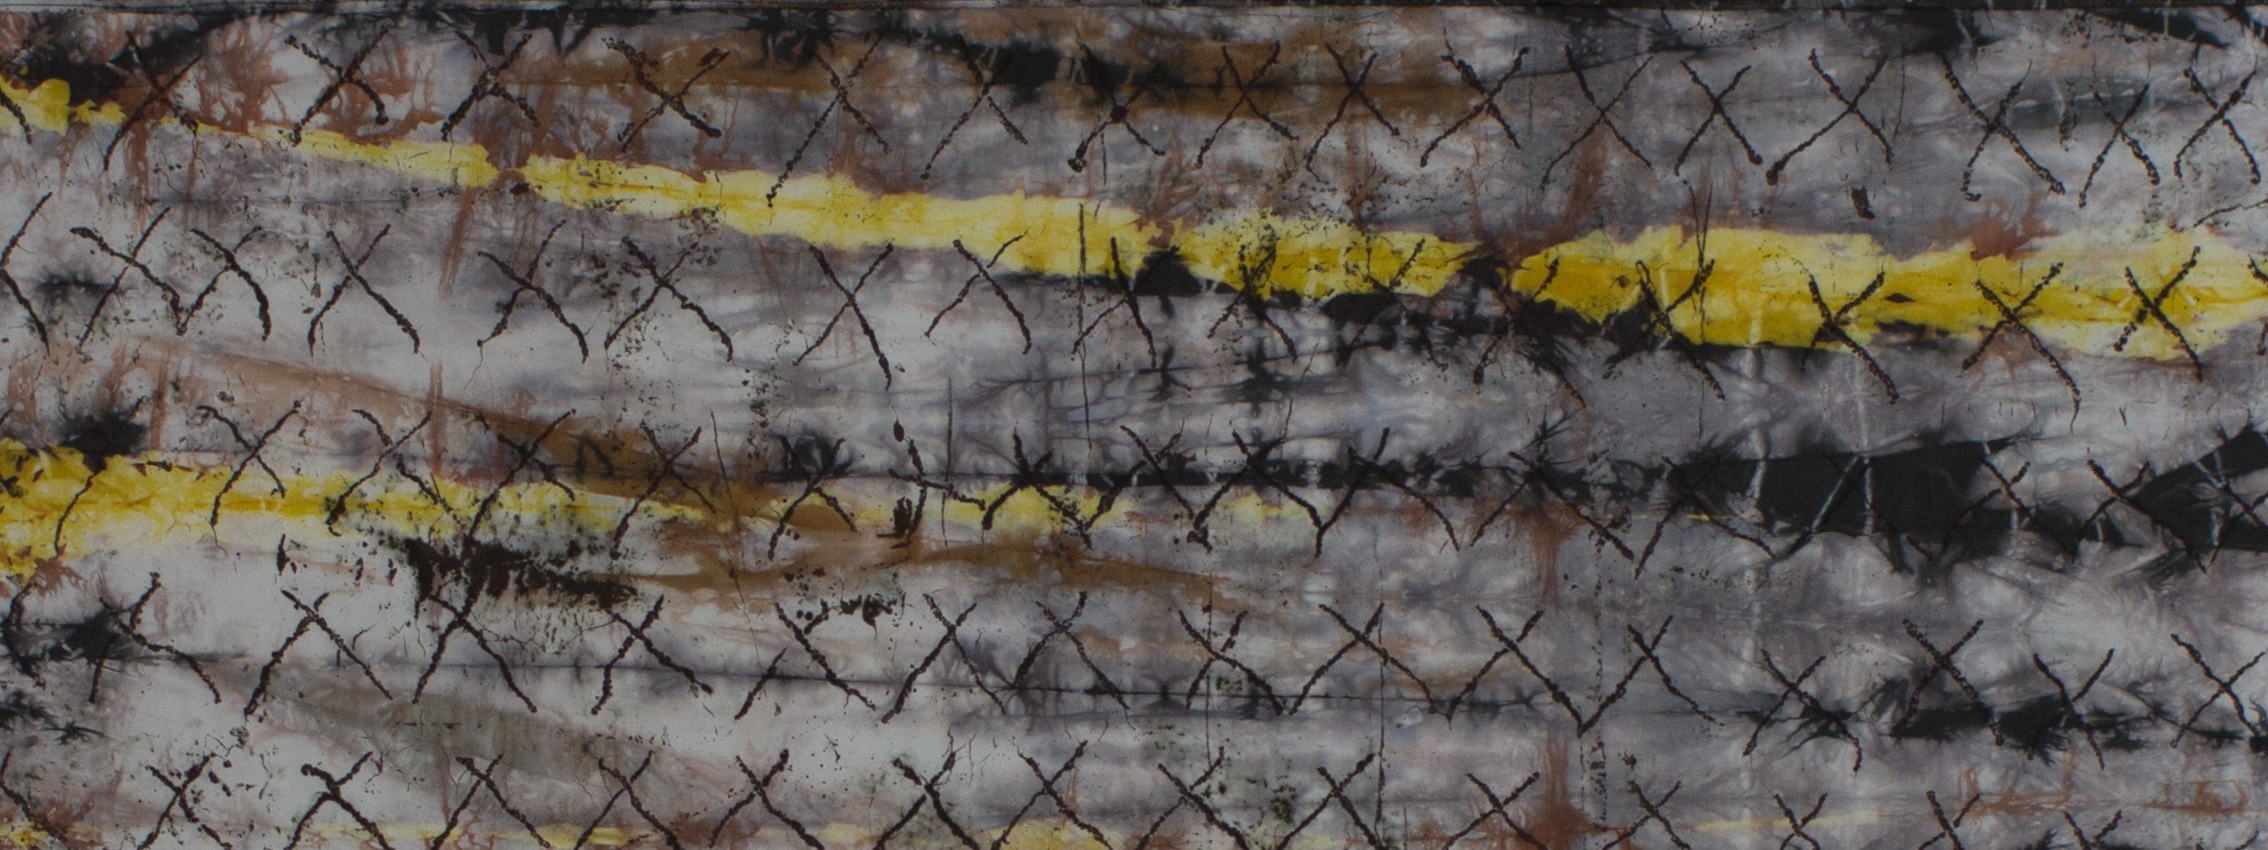
OK. This is the last of the series of finally completed work, but I promise that there's more to come. These two pieces are called, "Sedona #1" and "Sedona #2". They're the first installments in a little mini-series inspired by a few days spent hiking in Sedona, Arizona earlier this summer. They each measure 30" w X 72" h. They're art cloth (cotton broadcloth) with a rod pocket at the top. They incorporate painting with thickened dye, low water immersion dyeing, soy wax resist, bound and stitched resist, and discharge with both chlorine and thiox.
Dyeing to Discharge: Workshop samples
Clamped resist on white fabric dyed black.
Dyeing to Discharge: Day 5
Well, actually this post is more like post-day 5. I'm home in College Park and exhausted. I can't figure out what I did to be so pooped except that I must have worked harder this week than I thought.
- First and foremost: I've been ignoring a really valuable design tool--discharge--because I was squeamish about the safety, mess, etc. After a week of working with this stuff and never feeling any ill effects I feel well prepared to do more discharge work, and to do it in a way that's safe.
- Tied for first: This stuff is great, but anyone using any form of bleach or reducing agent needs to wear a respirator when using it and work outside. [That goes for using Tilex in the bathroom too. Close the door, open the window, turn on the fan, wear an acid/gas respirator, leave the room when you're done, and don't come back until the smell is gone. Don't laugh. I'm totally serious. I've made myself sick in the past from chlorine and I will never do it again.]
- I'm going to try a few more experiments with MX primary combinations and work on developing a vocabulary of discharge colors, effects, and marks that speaks to me. In a lot of ways workshops like this one are like going to a wine tasting. You taste some things you like and some you don't, and after a while your palette needs a rest to recover from the over-stimulation.
- MX acid process for silk! I've got to do more of this. I've got all of the supplies; I just need to fine tune my technique. [Of course Carol teaches a 5-day action packed class just on silk, but I can't think about that now. Too tired.]
- I want to work on black and white textures through discharge. Is it really possible that there's a pleasing combination of MX primaries out there that discharges to white? It doesn't seem that way, but...
- I'm going to experiment with potato dextrin as a resist and see if I can use it in a way that works for me. I'm not really interested in slathering yardage and waiting for it to crackle, but the stuff washes out so much easier than some other resists that it's worth playing with.
- Finally, I bought some monagum [the giant PRO Chem order should arrive on Wed] and I'm going to make my own thickened bleach discharge paste from now on. No more dishwasher gel.
Bottom line: I learned some new things and a lot of good safety tips. I definitely recommend this workshop for anyone interested in working with discharge techniques. Yes, you can figure this stuff out on your own, but this is a great way to jumpstart the process and get a good and SAFE start.
Dyeing to Discharge: Day 4
Yesterday was the 4th day of class. Time is flying by--faster than usual. The sample books are all done and it will be a valuable reference. As I was replaying the day in my head last night I started thinking about the work hanging on my design wall at home. One of the things that I wanted to accomplish this week was to work on new ideas for how I would add complexity to that composition through discharge. I've got some ideas, so mission accomplished.
Dyeing to Discharge: Day 3
I've only got time for a quick post, then I need to get to sleep. Day 3 was good. Today we wrapped up the exploration of chlorine bleach with some work with thickened bleach using Monagum. I discharged a piece of rayon that I prepared yesterday with potato dextrin crackle. I don't think I need to do that again. It's just a big mess. Yes, it does create an interesting pattern, but one that is very distinctive--as in, "Oh look he used potato dextrin." Someone observed that while it might be obvious to other surface designers, there's a whole world of folks out there who find the crackle pattern very engaging. It just doesn't speak to me.
We also did a bit of work with thickened thiox. Now, I've done this before and always found the smell a bit overwhelming. Today we all were able to screen, print, paint, etc. indoors with no ill effects. Of course the ironing to activate the discharge was all done outside with respirators on.
After dinner this evening I spent a couple of hours stitching up a T-shirt and a piece of silk for a bit of stitched shibori tomorrow.
Learning lots and still having fun. Pictures tomorrow.
Dyeing to Discharge: Day 2
Another good day, but that's not really a surprise. I think I could actually take this class at a faster pace, but the group is a mixture of folks who have previously studied with Carol and some who haven't. Everyone has had some MX experience, so that's helping move things along.
Dyeing to Discharge: Day 1
It was a good day. We spent a while talking about some general concepts concerning discharge, but the real thrust of the day was making the first round of samples. We dyed samples of all of the pure MX dyes and all of the PRO Chem blacks on both silk and cotton, then discharged those along with some commercial black samples with thiox, chlorox, and deColourant (that new stuff that everyone's so excited about). I've done little tests before--a dab of bleach on the edge of a piece of cloth to predict what I might get before embarking on a broader application. But, I've never done so many samples at a time or with such a broad range of colors. It's amazing to see all of the possibilities. Tomorrow everything gets assembled into a sample book, which we'll use to make design decisions for the rest of the week.


