Thoughts, news, and more

Recent posts
News Russ News Russ

Dyeing to Discharge: Day 3

I've only got time for a quick post, then I need to get to sleep. Day 3 was good. Today we wrapped up the exploration of chlorine bleach with some work with thickened bleach using Monagum. I discharged a piece of rayon that I prepared yesterday with potato dextrin crackle. I don't think I need to do that again. It's just a big mess. Yes, it does create an interesting pattern, but one that is very distinctive--as in, "Oh look he used potato dextrin." Someone observed that while it might be obvious to other surface designers, there's a whole world of folks out there who find the crackle pattern very engaging. It just doesn't speak to me.

We also did a bit of work with thickened thiox. Now, I've done this before and always found the smell a bit overwhelming. Today we all were able to screen, print, paint, etc. indoors with no ill effects. Of course the ironing to activate the discharge was all done outside with respirators on.

After dinner this evening I spent a couple of hours stitching up a T-shirt and a piece of silk for a bit of stitched shibori tomorrow.

Learning lots and still having fun. Pictures tomorrow.

Read More
Art, News Russ Art, News Russ

Dyeing to Discharge: Day 2

Another good day, but that's not really a surprise. I think I could actually take this class at a faster pace, but the group is a mixture of folks who have previously studied with Carol and some who haven't. Everyone has had some MX experience, so that's helping move things along.

Today we focused entirely on bleach discharge on cellulosic fiber using clamped and bound resist. All of my samples were Pimatex and Rayon. Here they are clamped and ready to be discharged.
...and then after the discharge bath and neutralizing.

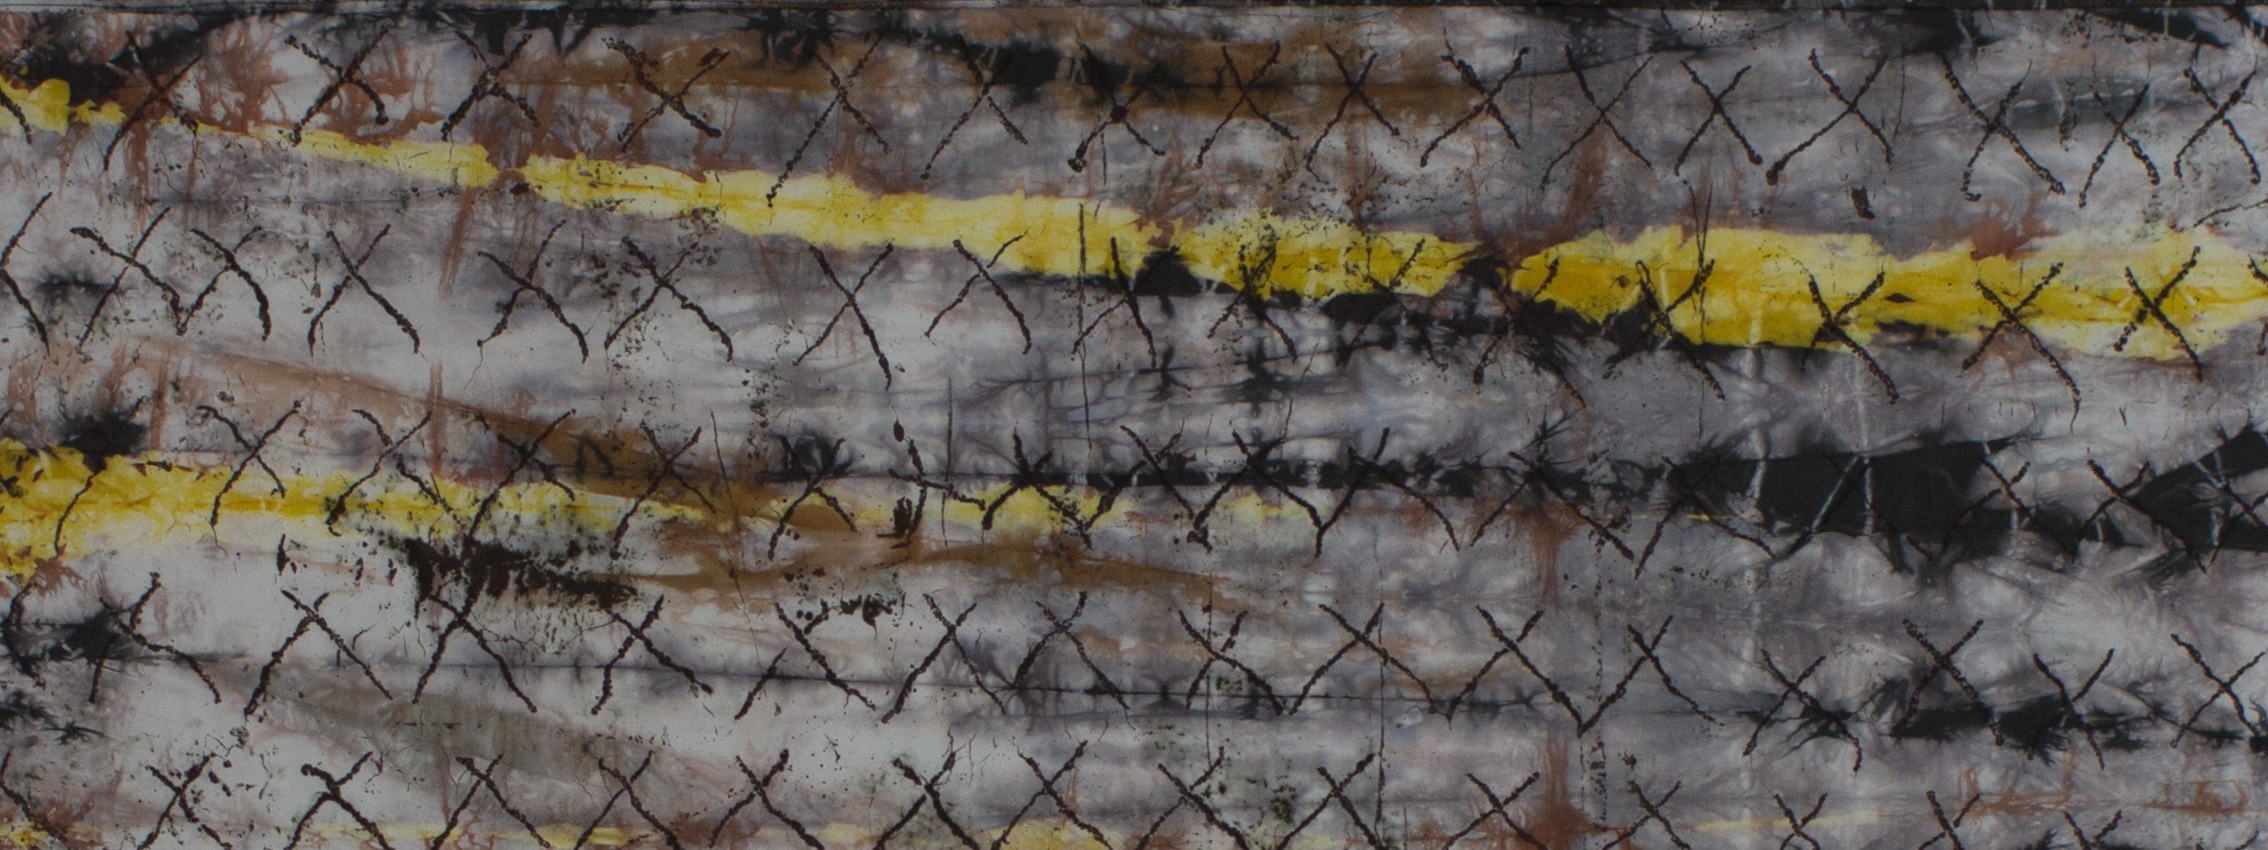
The rectangular bundles are both cotton, which discharged to a rust color. The others are rayon: some from Dharma and some from Testfabrics. They discharge to totally different colors. I love that pretty much everything will discharge somewhat in bleach, but I'm really looking forward to working with thiox tomorrow because my commercial black samples discharge closer to white, leaving many more options for overdyeing. After taking the photo above all of these pieces were overdyed while still in their clamps/bundles. I'm looking forward to seeing them tomorrow morning.
And finally, no discharge workshop is complete without the view of the class hard at work with respirators on. Here we are on the loading dock at PRO Chem, which is being affectionately referred this week as the "lanai.".
Read More
News Russ News Russ

Dyeing to Discharge: Day 1

It was a good day. We spent a while talking about some general concepts concerning discharge, but the real thrust of the day was making the first round of samples. We dyed samples of all of the pure MX dyes and all of the PRO Chem blacks on both silk and cotton, then discharged those along with some commercial black samples with thiox, chlorox, and deColourant (that new stuff that everyone's so excited about). I've done little tests before--a dab of bleach on the edge of a piece of cloth to predict what I might get before embarking on a broader application. But, I've never done so many samples at a time or with such a broad range of colors. It's amazing to see all of the possibilities. Tomorrow everything gets assembled into a sample book, which we'll use to make design decisions for the rest of the week.

One little technical observation from today was that bleach has an expiration date after which it really doesn't work--REALLY. We ended up with a bottle of Chlorox that expired in April. I saw hand-dyed samples dropped into a very strong bleach solution that lost almost no color. Mixing a new solution with fresh bleach make a big difference. I'll be checking my bleach when I get home.
Sorry, no pictures today. I'll try to do a better job with that tomorrow.
Read More
Art, News Russ Art, News Russ

A week in Fall River

I'm in Fall River at PRO Chemical for a 1-week workshop with Carol Soderlund called "Dyeing to Discharge." It's hard to believe, but this will be my 5th class with Carol. I'm going to have to ask for a degree soon.

Discharge is a dyer's term for removing dye from cloth. Think of it as the dyer's equivalent of an eraser. It's among the most basic techniques, but not something that I've ever really felt that I could control to the level that I want. That's what the next 5 days will be about: really learning to control the process with different types of chemistry--reductive (thiox) and oxidative (hypochlorite)--to get predictable, reproducible results.
If you're not a dyer, a chemist, or a nerd (or a little bit of each) this might sound tedious, but I'm really looking forward to it.
Stay tuned this week to hear how about what I'm learning.
Read More
Art, News Russ Art, News Russ

"Unexpected Patterns" opens today

"Unexpected Patterns" (aka "Unexpected Patterns: Quake!") opens today at the Worcester Center for Crafts in Worcester, MA. If you're in the area check out my piece in this show along with the other outstanding work by members of the Art Cloth Network.

Read More
Art, News Russ Art, News Russ

Saving the hopeless quilt: Part 4

Now for the final panel in this triptych.
The center panel was always different from the other two and in the end I felt that I needed to accentuate that difference rather than trying to suppress it. The answer I came up with was to go dark on the background rather than light, but keep the same pieced construction.

As I began to assemble it I realized that the little piece of the curved middle strip that was extending below the rest of the design was something to which I'd become attached. From the purely practical perspective of construction, this was not the best time to come to this realization because it meant even more seam ripping than I was already doing, not to mention scavenging through the scrap pile in search of bits of fabric that I was out of.
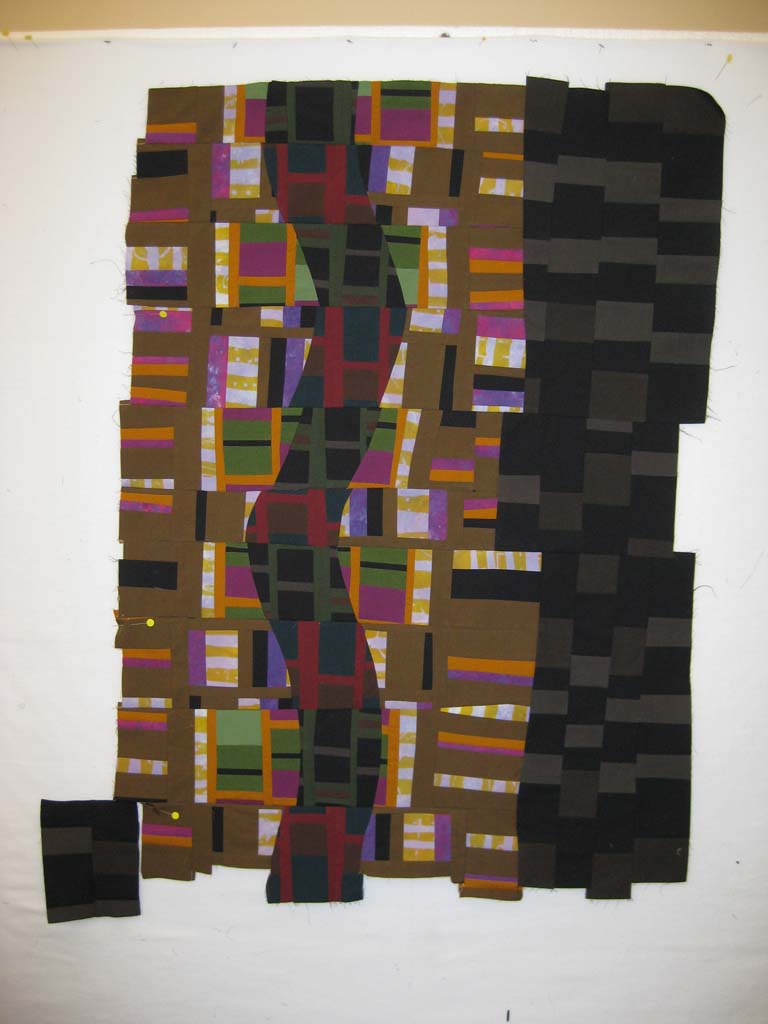
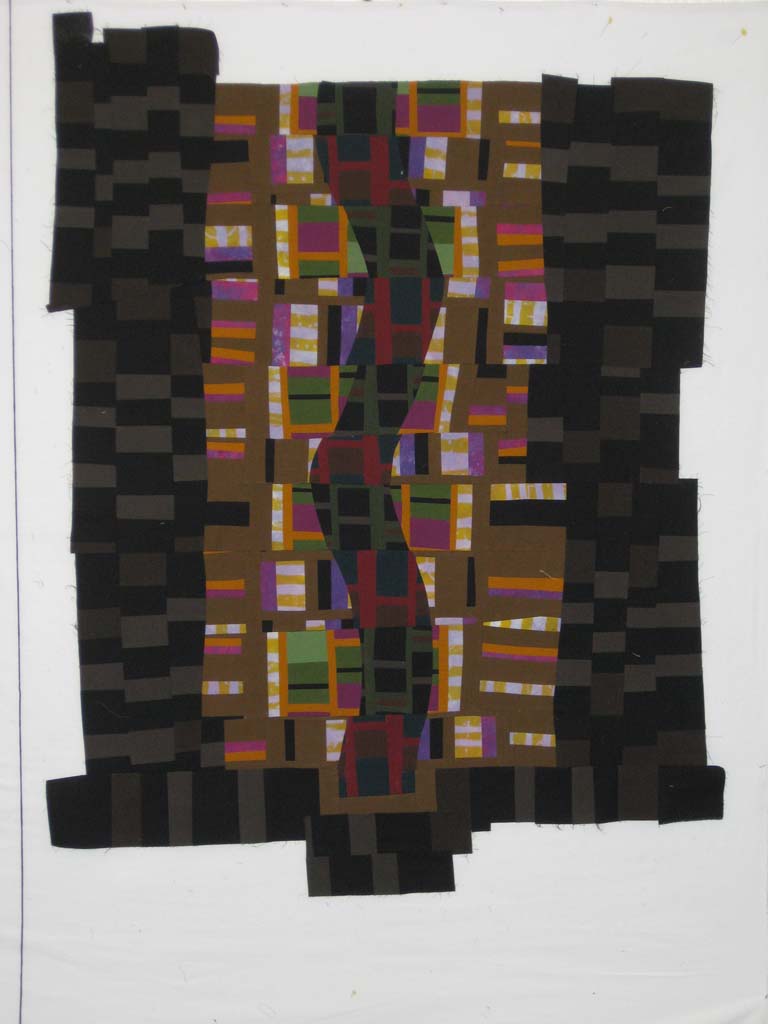
In this shot you can see how I managed to preserve that little bit at the bottom.
And finally, this is what the completed quilt top looks like cropped.
Now I just have to commit to doing the quilting to finish the three panels that make up the entire composition. I've already got an idea of where I want to show the finished work and the deadline is in early summer. I guess that's far enough away, but just close enough for me to feel a little sense of urgency.
Although this project isn't done yet, I think that I can say that I did learn from it. Don't through out those difficult pieces that you just can't seem to make work. Put them away, get some distance from whatever it was that was blocking or frustrating you, then pull them out and reconsider. Cut, paint, print, overdye--transform them into something that speaks. In this case I chose to transform the piece through restructuring alone. I was sorely tempted (especially in the beginning) to go the surface design route, but I think resisting paid off in greater learning and a better final product.
Read More
Art, News Russ Art, News Russ

Saving the hopeless quilt: Part 3

I can only sustain suspense for so long so here they are: 2 of what will be 3 panels.

I think they stand alone well and I think they are going to work well together when they are joined by the 3rd panel. I intend to keep them as separate quilted pieces of roughly the same size. They aren't a series in and of themselves, but they are part of a growing series of triptychs. Having created another piece that's close to 70 inches wide and struggled with the size and hanging issues, I thought it might be time to explore the idea of a single work in parts.
The middle panel is a variation on these two. I finished piecing it today, but you'll have to wait for another day to see the pictures.
Read More
Art, News Russ Art, News Russ

Saving the hopeless quilt: Part 2

Picking up where I left off with the last post...

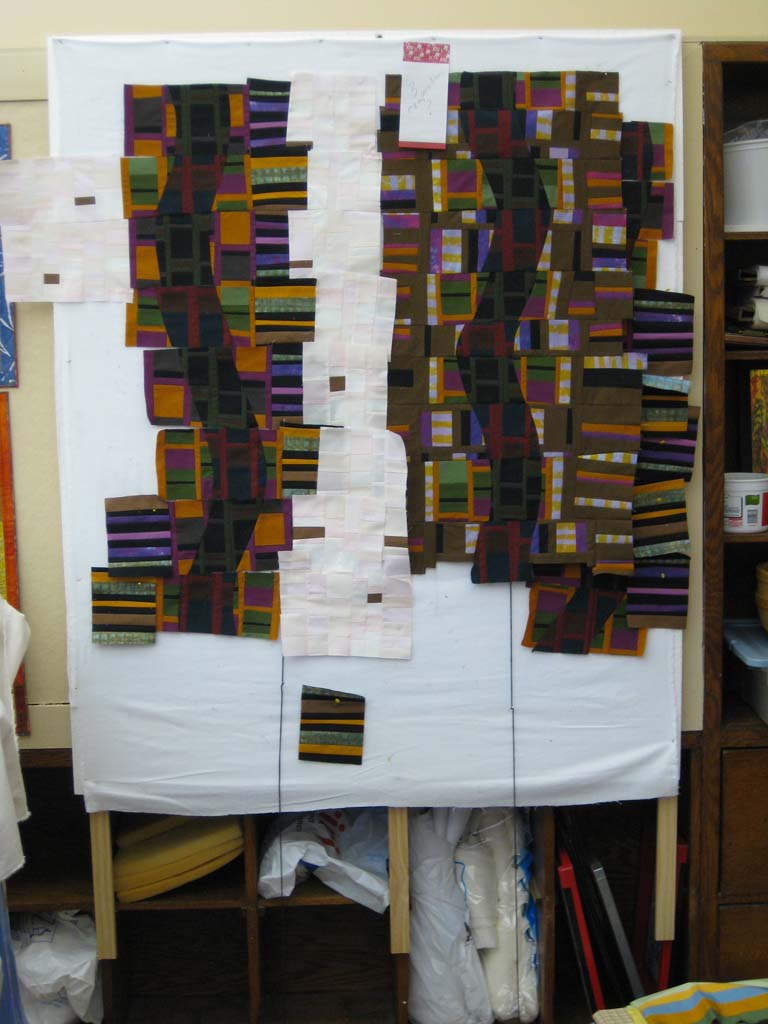
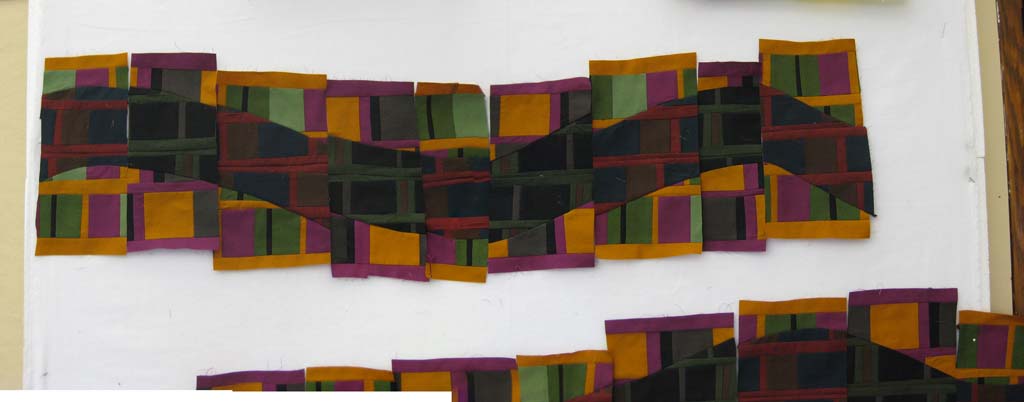
I was able to piece together 2 curving lines in the same color combinations then spent some time looking at them on the design wall in a horizontal orientation. I felt good about where it was going, but I figured out early on that I wanted to rotate it to vertical. I also knew that I didn't have enough pieces to work with to create any sort of real composition. At the very least I needed another element--a 3rd line.
It also needed some variation. The center line below is built from the same original strip sets as the other two, with another one worked in. Here I aslo introduced other printed fabrics that related to colors in other parts of the composition.
There's a sort of rhythm, undulation to this that I like.

Checking the values with a grayscale photo (below) helped me workout some figure-ground problems. But, looking at this photo I realized that needed something else. I struggled to figure out how the join these 3 pieces into a whole. I considered several options for filling in the spaces between the irregularly shaped columns. In this photo you can see a trial strip between the 2nd and 3rd columns. It seemed like the start of something, but there were value and scale issues.

The question that I struggled with was how to unite these three columns in a way that maintained the three distinct entities in the final composition--not just the curved lines but the background of each line.
Over time I began to feel like that I needed to treat these three lines as distinct objects and not try to unite then, but rather to transition between them. I needed to interrupt the vertical flow with some horizontal lines. After a lot of rearranging and discussion with friends I started to assemble the first column.
The more I fiddled, the further the three lines move apart and asserted themselves as individuals. So I changed my approach. I would "unify" the whole quilt with a common light background.
It's a little hard to see here, but the background that's starting to come together is pieced from strip sets that were all white, or slightly red or yellow. There are also occasional bits of brown. The plan was to build the quilt from left to right.
Maybe you can figure out what comes next...and maybe you can't. More to come.
Read More
Art, News Russ Art, News Russ

Saving the hopeless quilt: Part 1

Back in October I returned from two weeks of workshops in a sort of mixed up mood. One week produced some good samples and good ideas, the majority of which I've yet to explore. The other week produced bits and scraps of a failed design that quite frankly were just a nagging reminder of something that didn't quite turn out as expected. They can't all be home runs, right? Sometimes teacher, student, and the planets just don't align the right way at the right time. Learn what you can, remember the love, try to forget the angst, and move on.

So, moving on...
I've dug in my heels and I'm determined to make a difficult experience into something positive. The next few posts will show where I started with that failed design and where it's going.
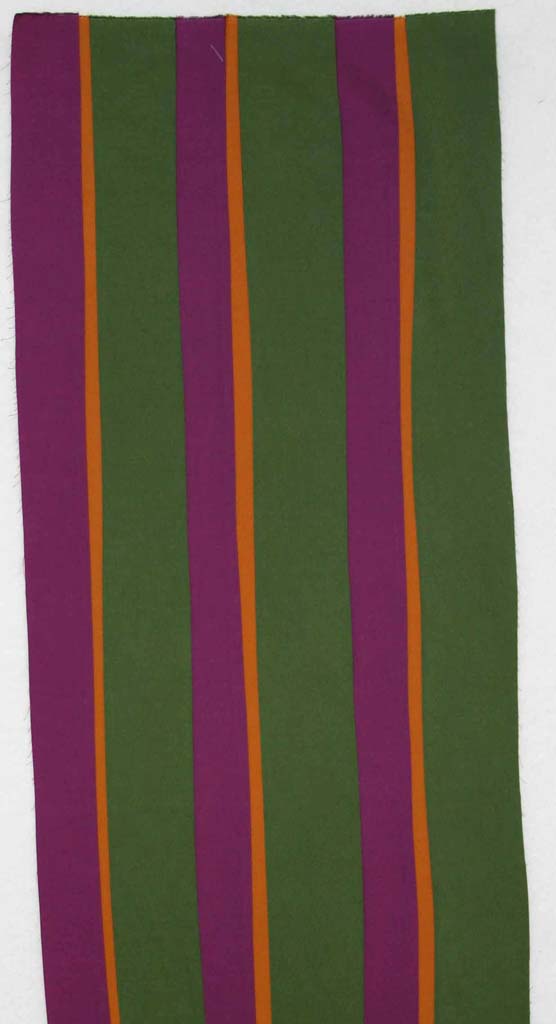
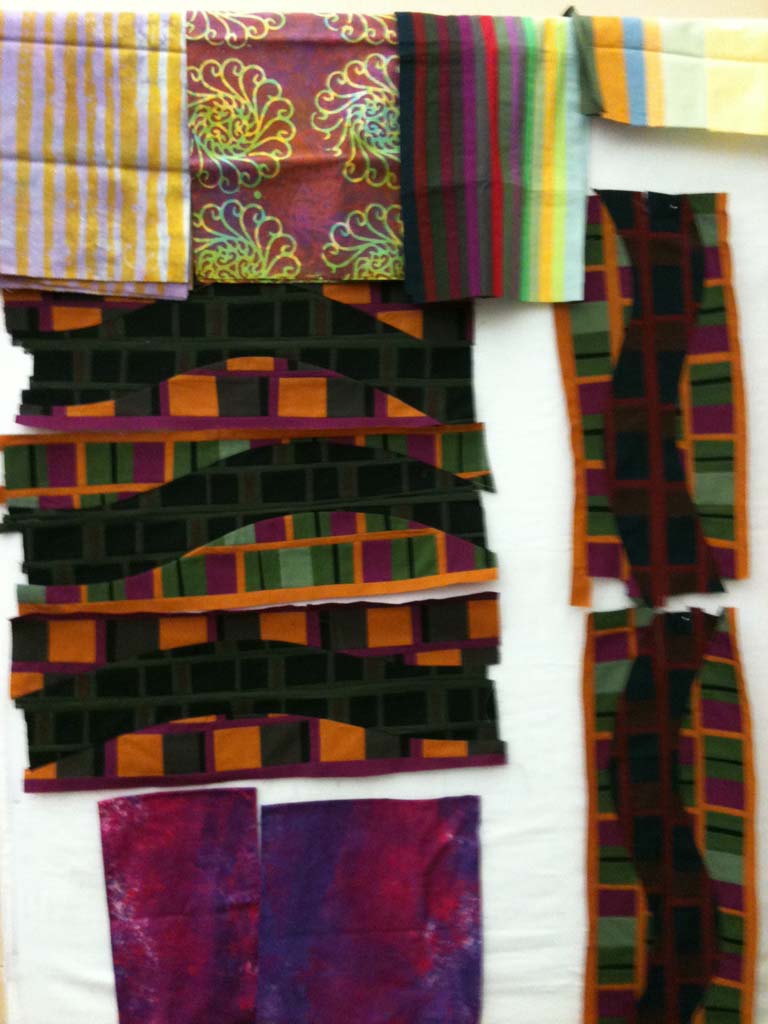
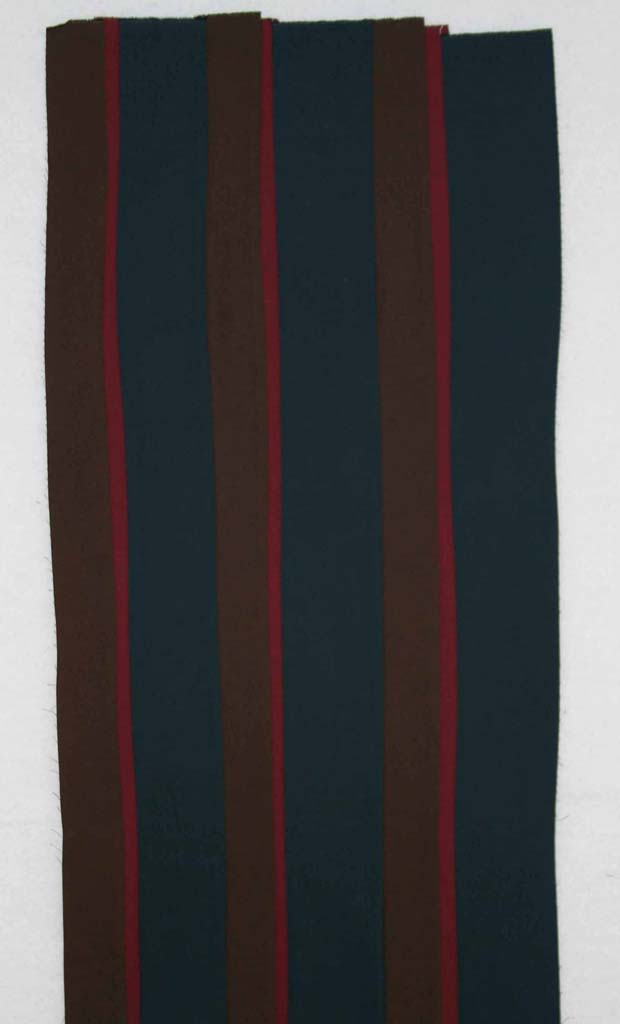
The original composition started with strip sets, like the ones shown below.
We were given an assignment to create a strip quilt by restructuring these strip sets--really a very basic task. I got thoroughly bogged down in a the linear design and the "strips" and just couldn't seem to resolve any of the obvious design problems; like the fact that it's a BAD design. (You can read more about the experience in earlier posts).
I liked some of the restructuring that I'd done with the strip sets, but knew that the only way for me to get a fresh start with this quilt was to start breaking up some of those straight lines. Knowing that I had nothing to lose, I cut the long restructured sets into smaller pieces and started combining them with curved piecing.
That was interesting, but not enough on it's own to create much of an engaging design. The next step was to cut up and recombine these sets. Now things started getting interesting.
I hope that's enough of a teaser to get you to come back and see what happened next. I should have another post in a few days.
Read More
Art, News Russ Art, News Russ

Recently finished

Just in time for Christmas, I finally finished a commission quilt that I started *months* ago. Thanks for being so patient Jennifer. Aaron, I hope you like it. By the time I was done I almost didn't want to let it go. That's a good sign.
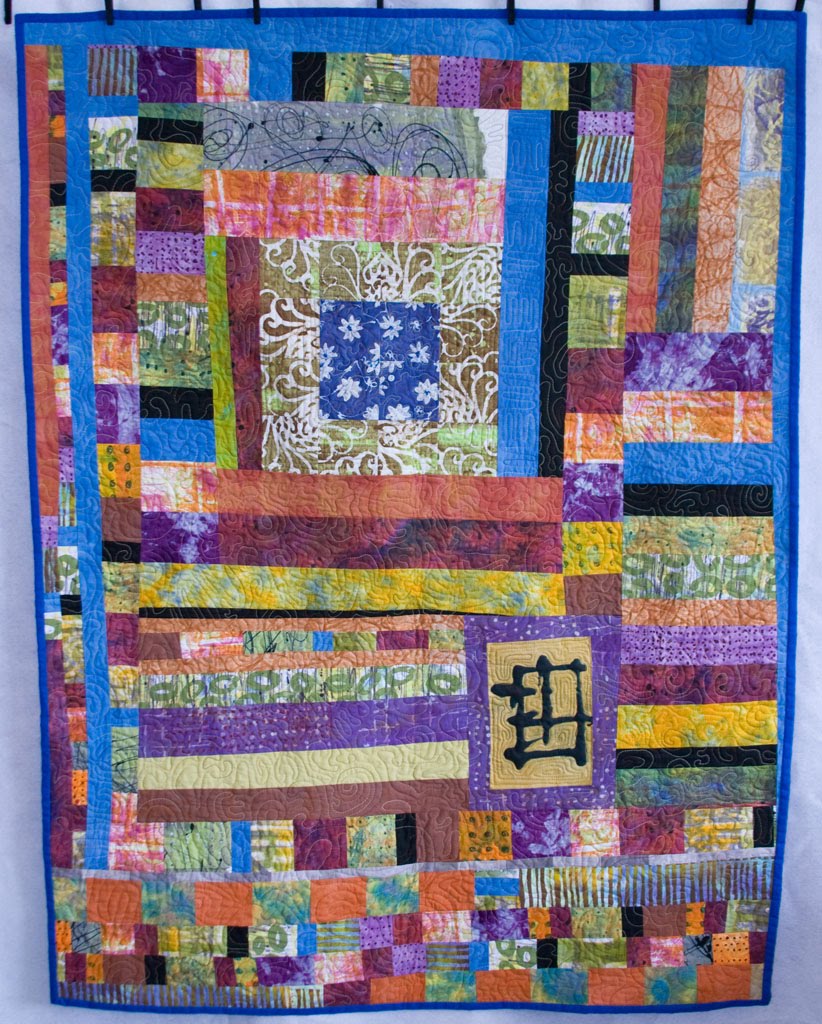
Here's the full quilt...
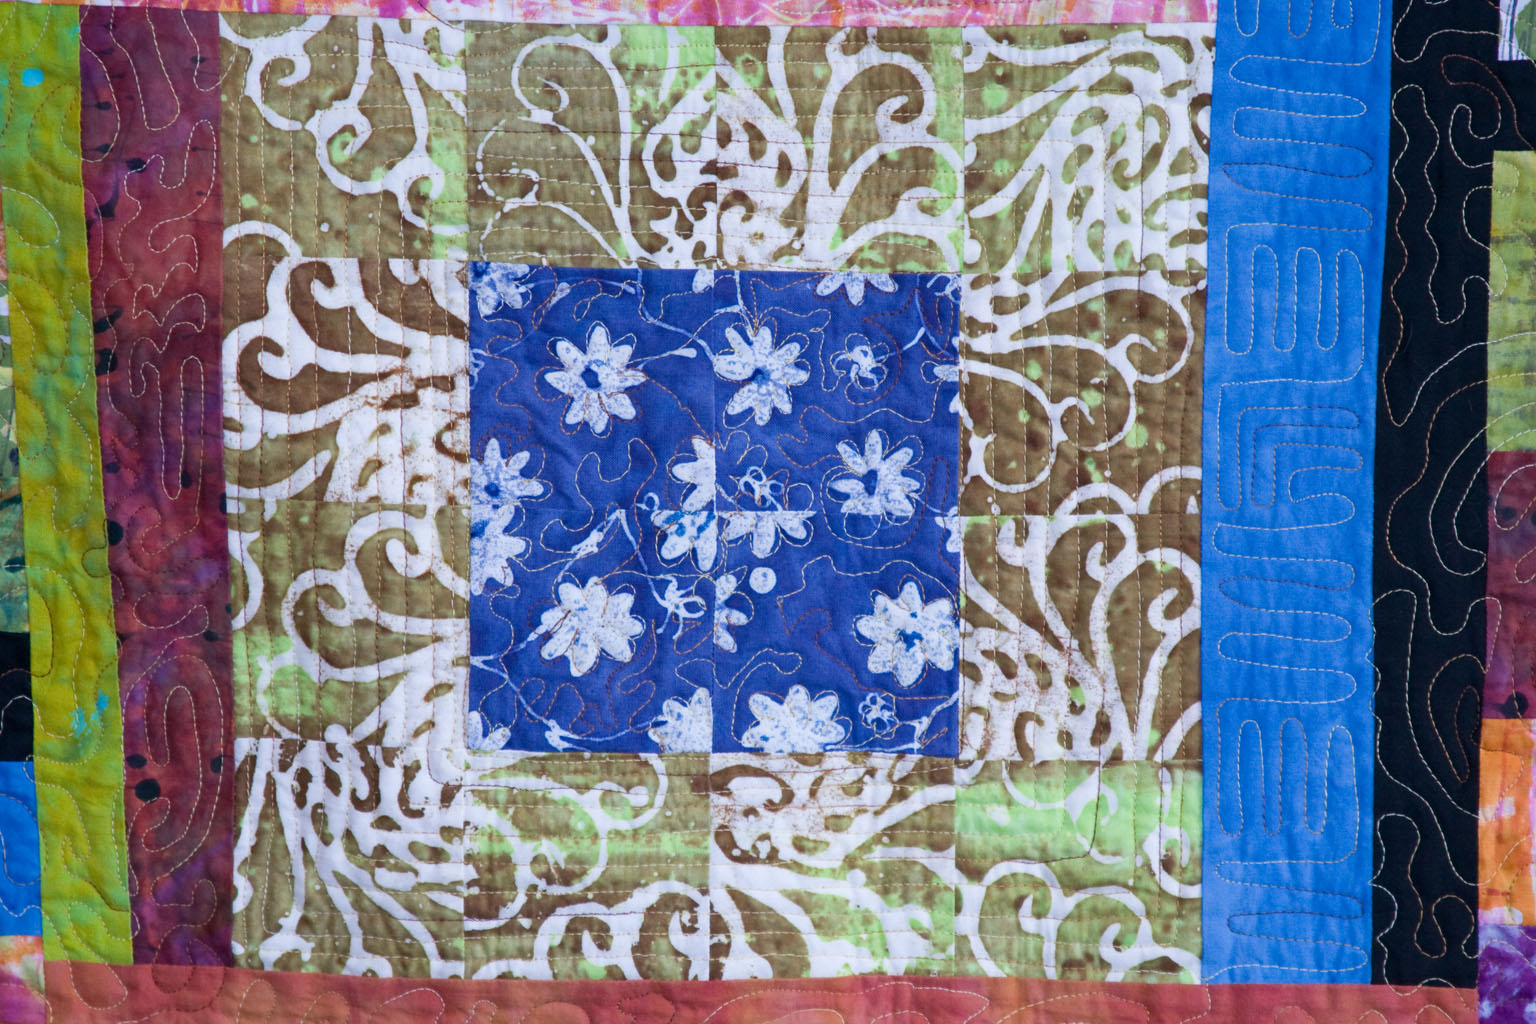
and two detail shots.

Oh, I'm forgetting the title: "The Winding Path is Often the More Interesting Choice." A little something for him to reflect on later in life. :) His older brother's quilt is titled, "Don't be Afraid to Color Outside the Lines". It all seems very appropriate to me.
Read More