Thoughts, news, and more
Recent posts


Saving the hopeless quilt: Part 2
Picking up where I left off with the last post...


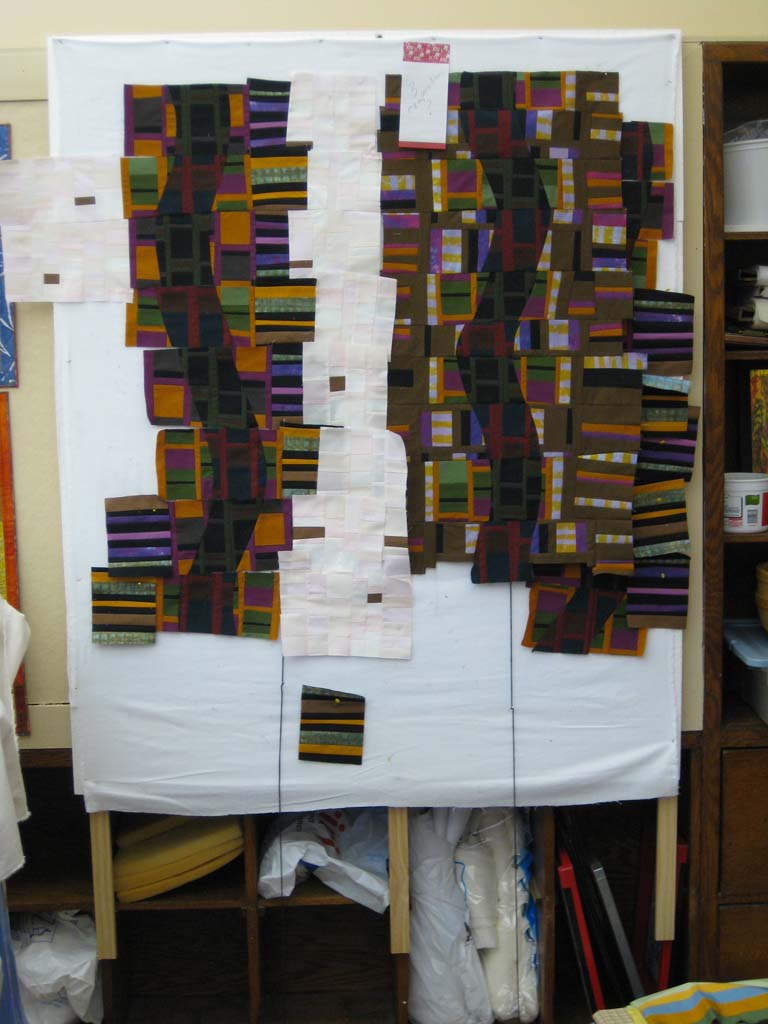
Saving the hopeless quilt: Part 1
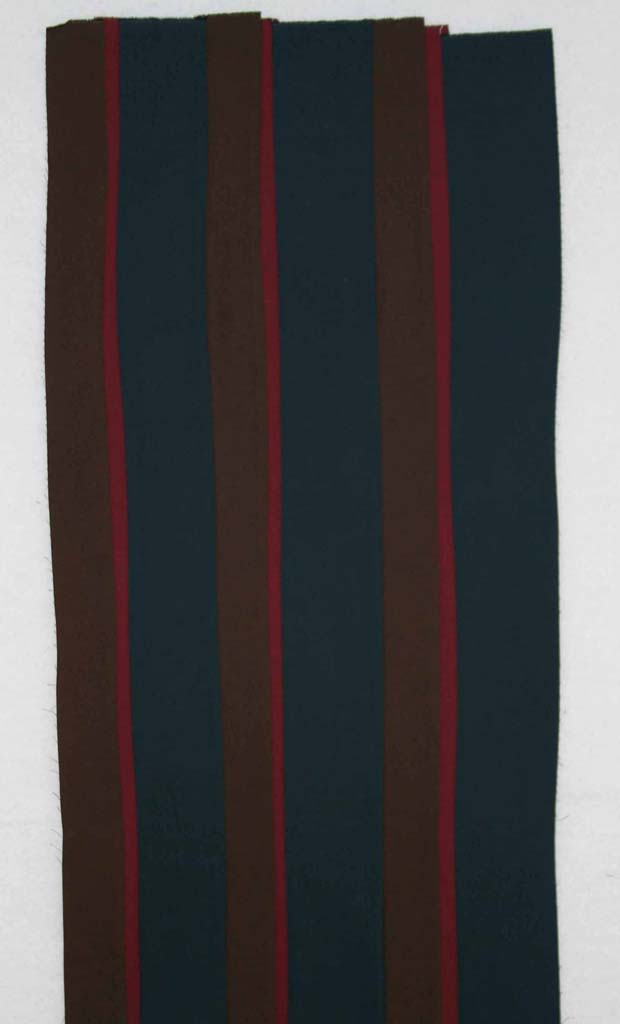
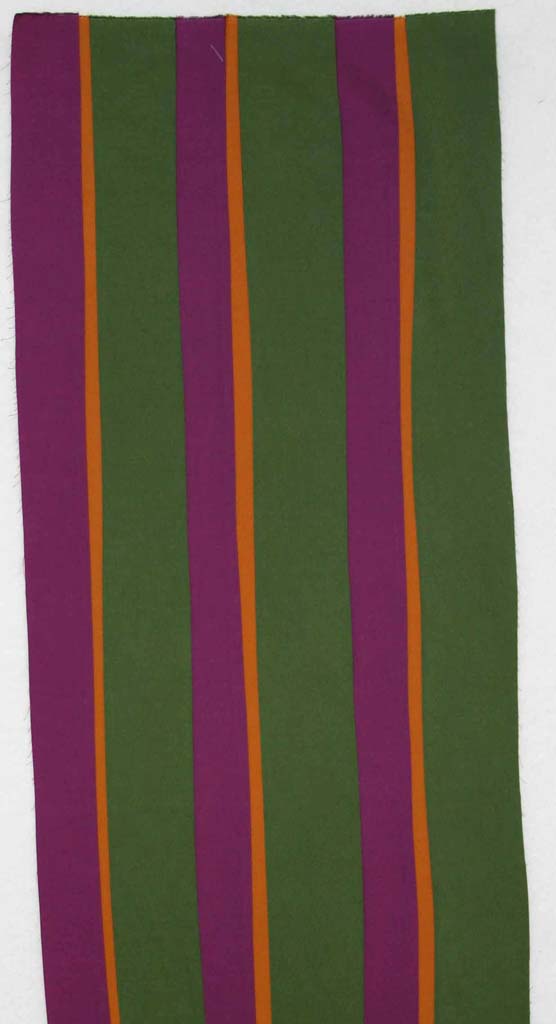
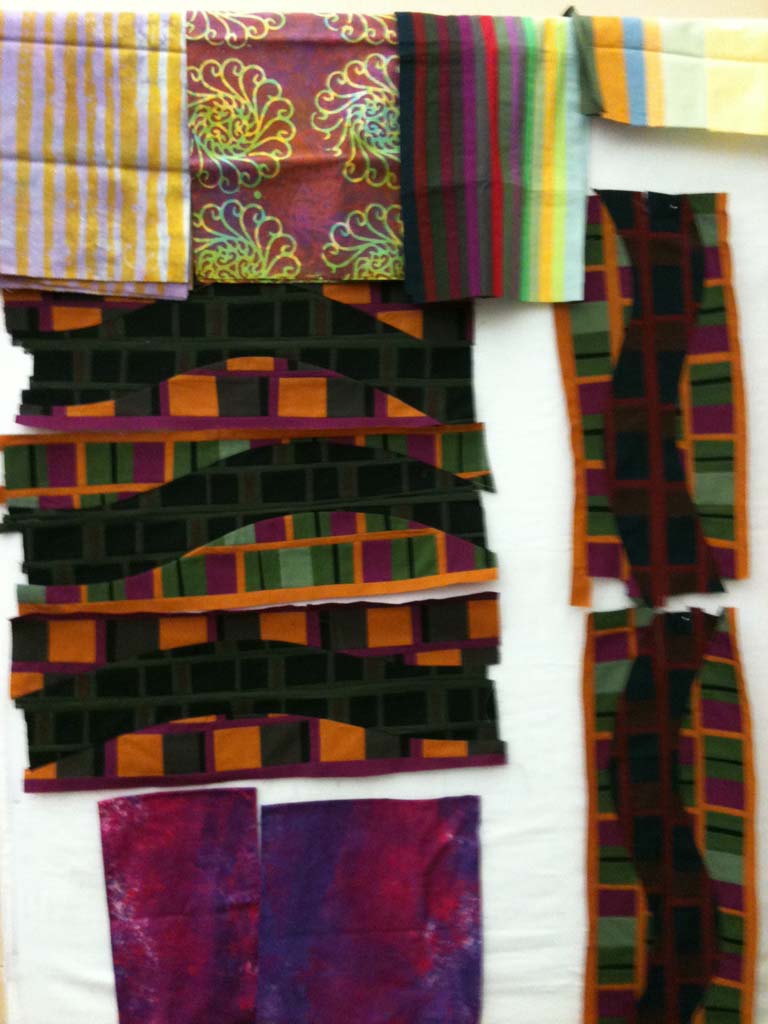
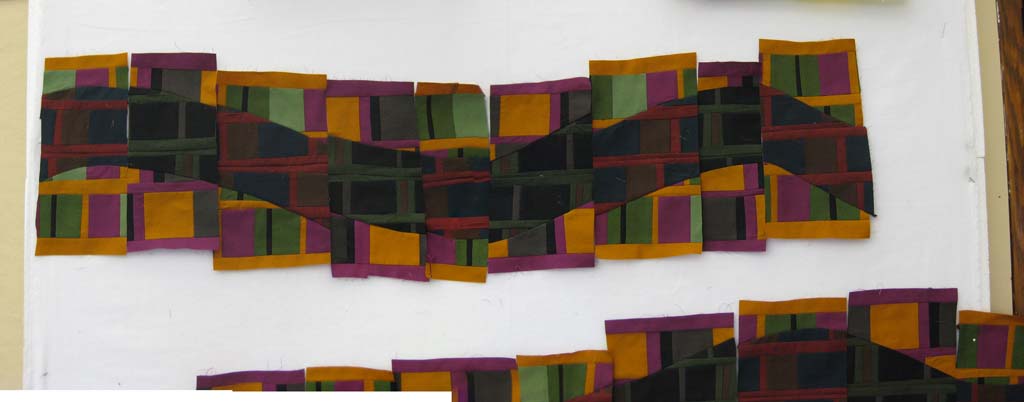
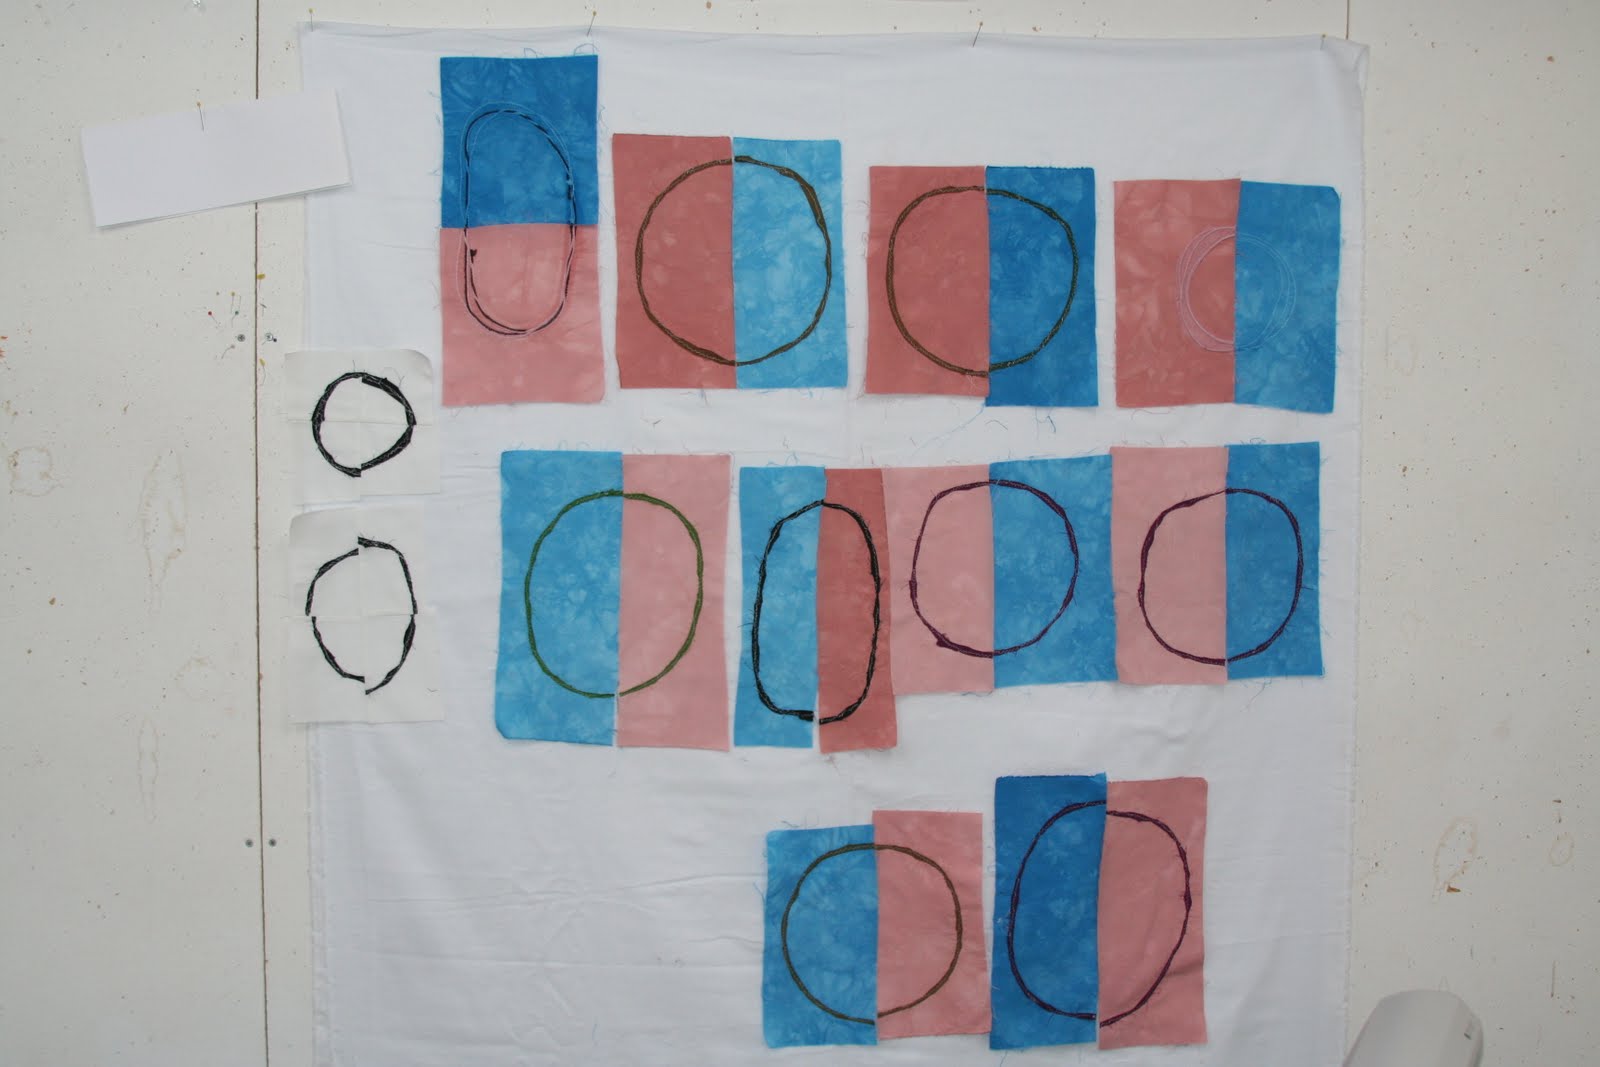
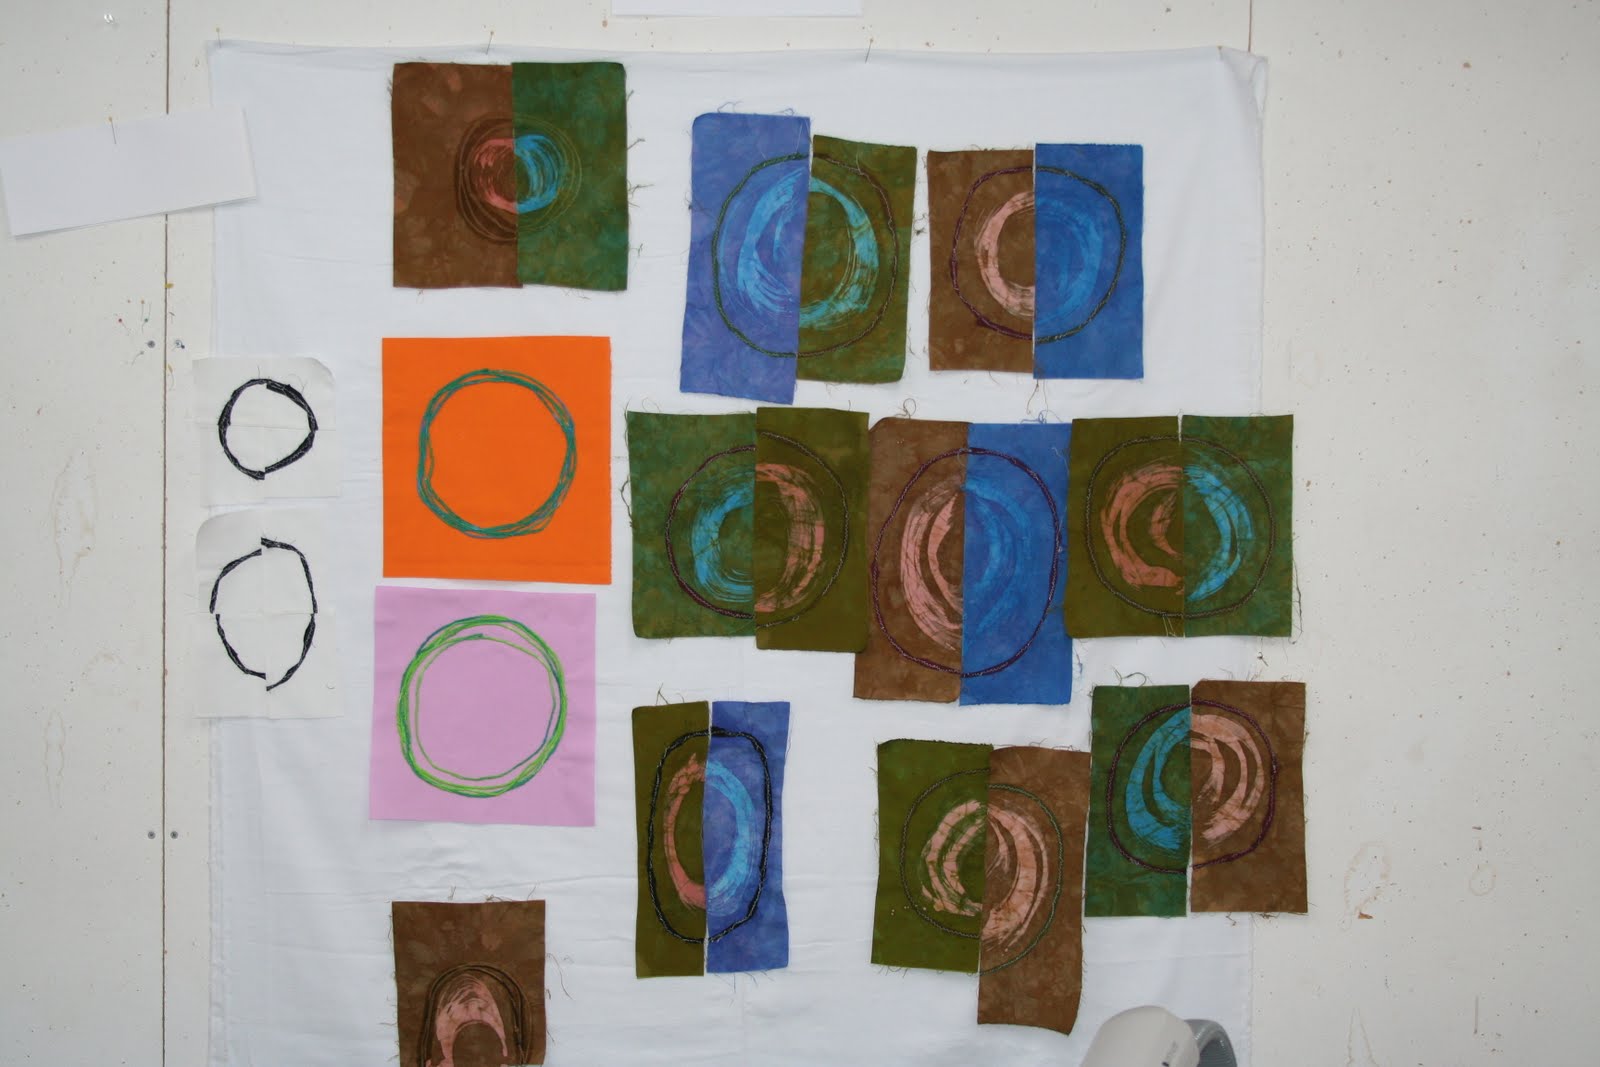
Back in October I returned from two weeks of workshops in a sort of mixed up mood. One week produced some good samples and good ideas, the majority of which I've yet to explore. The other week produced bits and scraps of a failed design that quite frankly were just a nagging reminder of something that didn't quite turn out as expected. They can't all be home runs, right? Sometimes teacher, student, and the planets just don't align the right way at the right time. Learn what you can, remember the love, try to forget the angst, and move on.



Recently finished
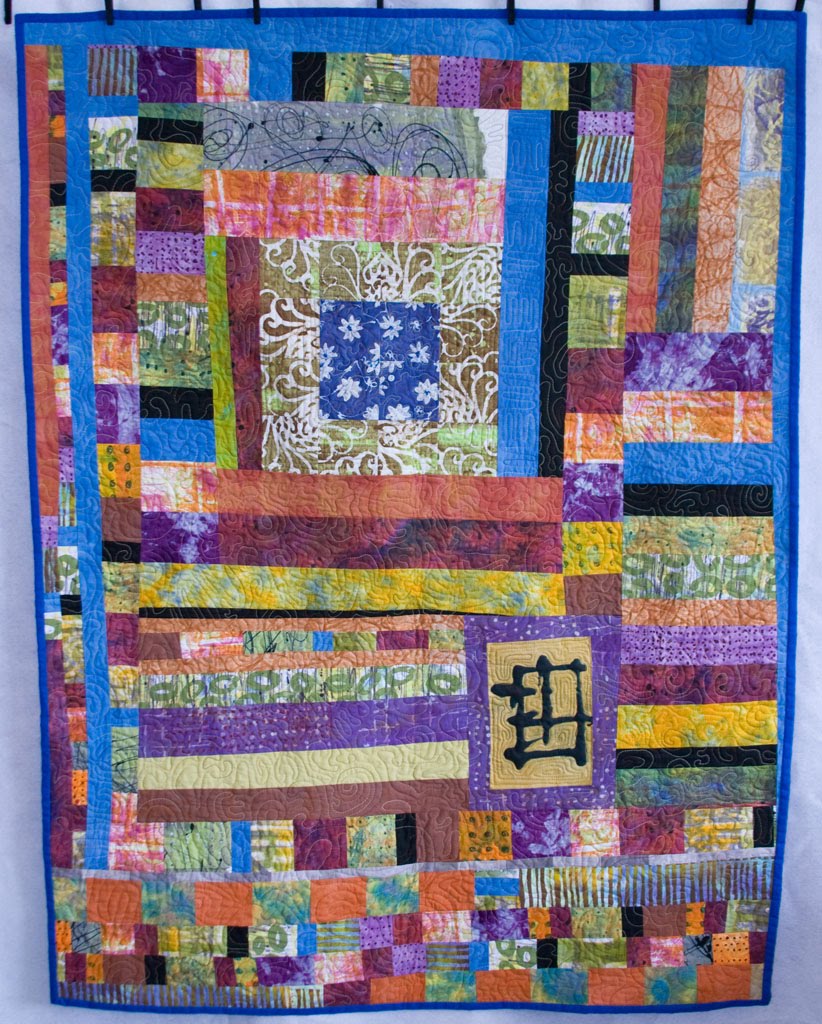
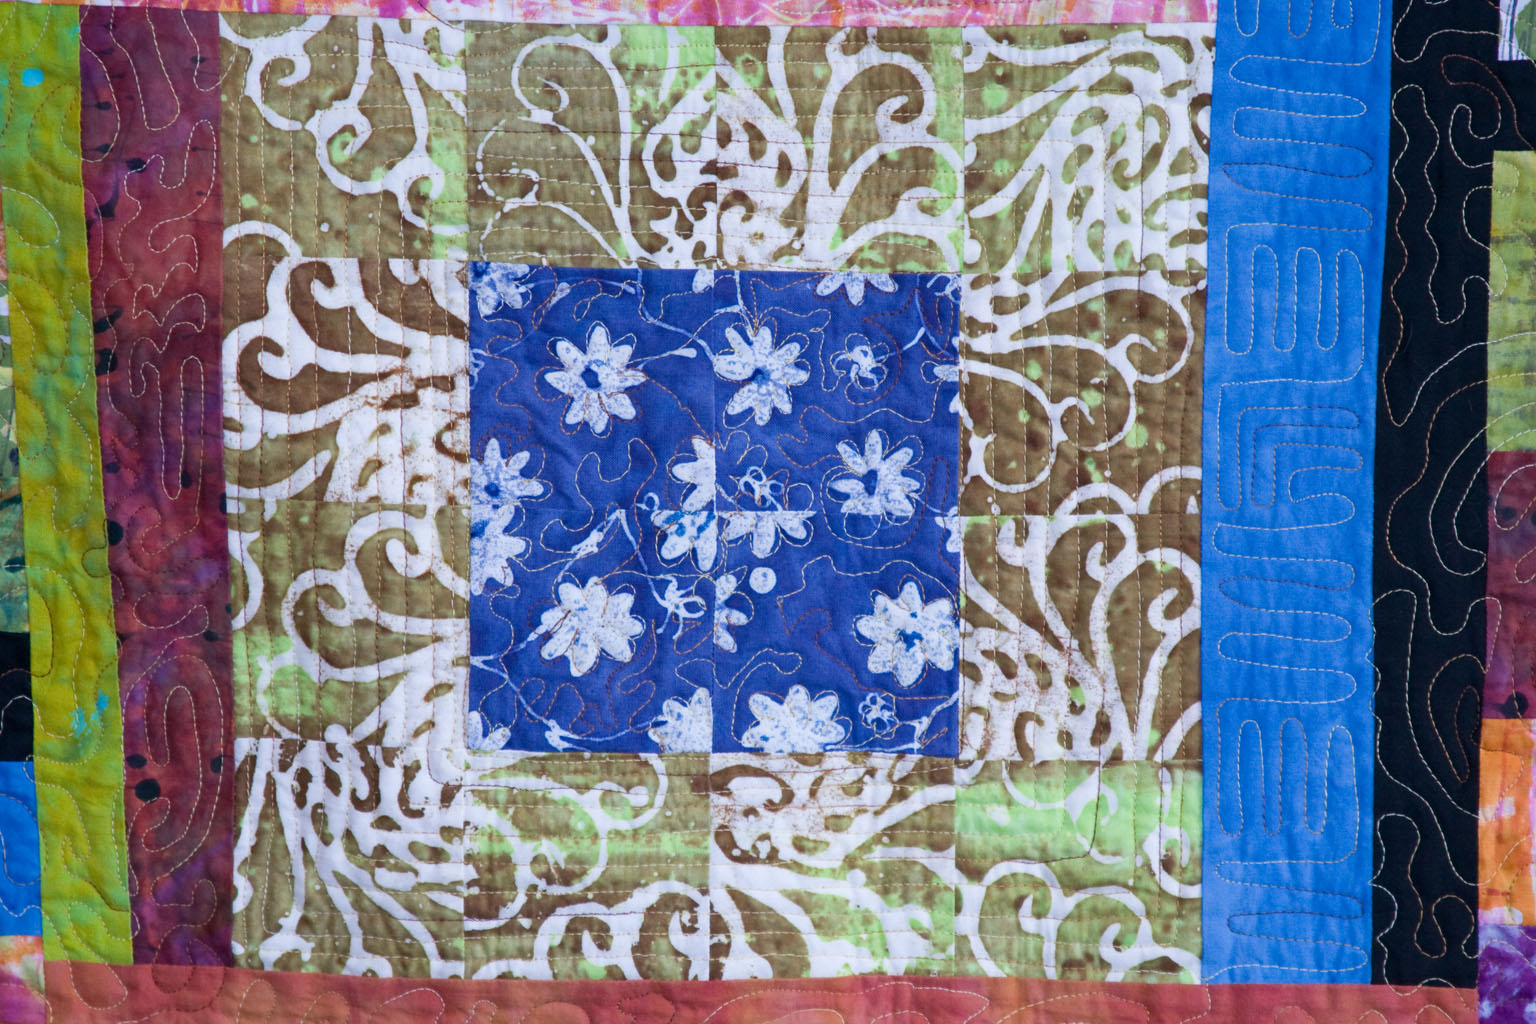
Just in time for Christmas, I finally finished a commission quilt that I started *months* ago. Thanks for being so patient Jennifer. Aaron, I hope you like it. By the time I was done I almost didn't want to let it go. That's a good sign.

The business of the holidays
...and the busyness of course. Every year I say to myself, "Let's keep it simple." In many ways our holiday traditions have gotten simpler over the last 20 years. I've stopped printing the Christmas cards and I'm no longer wrapping the packages in brown paper then painting them (that was charming but a bit insane). Likewise I've reduced the holiday baking to a reasonable level--for weight control if nothing else.
So what has moved in to occupy all of this free space in my schedule? Quiet Advent contemplation? No, it's business that is now making the holidays bright with frenzy. I love my studio work and I have to say I'm finally in a place where I like selling what I make. It does however take up a bit of time. Just when the holiday selling should have been over and done with I decided that this was the perfect time to launch an online sales page on my website. (heavy sarcasm) I've been meaning to do it for a while. When a friend from NY asked for pictures of things he might buy for his wife I thought, "Can I use this as the motivator to get this done." Well, it's done. I'm pleased with the results. It was a nice little design and writing assignment with some programming on the back end to make the experience look a bit more professional. Three transactions, 6 items sold, and one more lead in the first week. I couldn't be more pleased. Maybe that's not entirely true. I'd be more pleased if I'd done this well in advance of the holidays. So now I'm set for next year. Right?!
Check out the new sales page at russlittlefiberartist.net.
Getting ready for a weekend of open studio
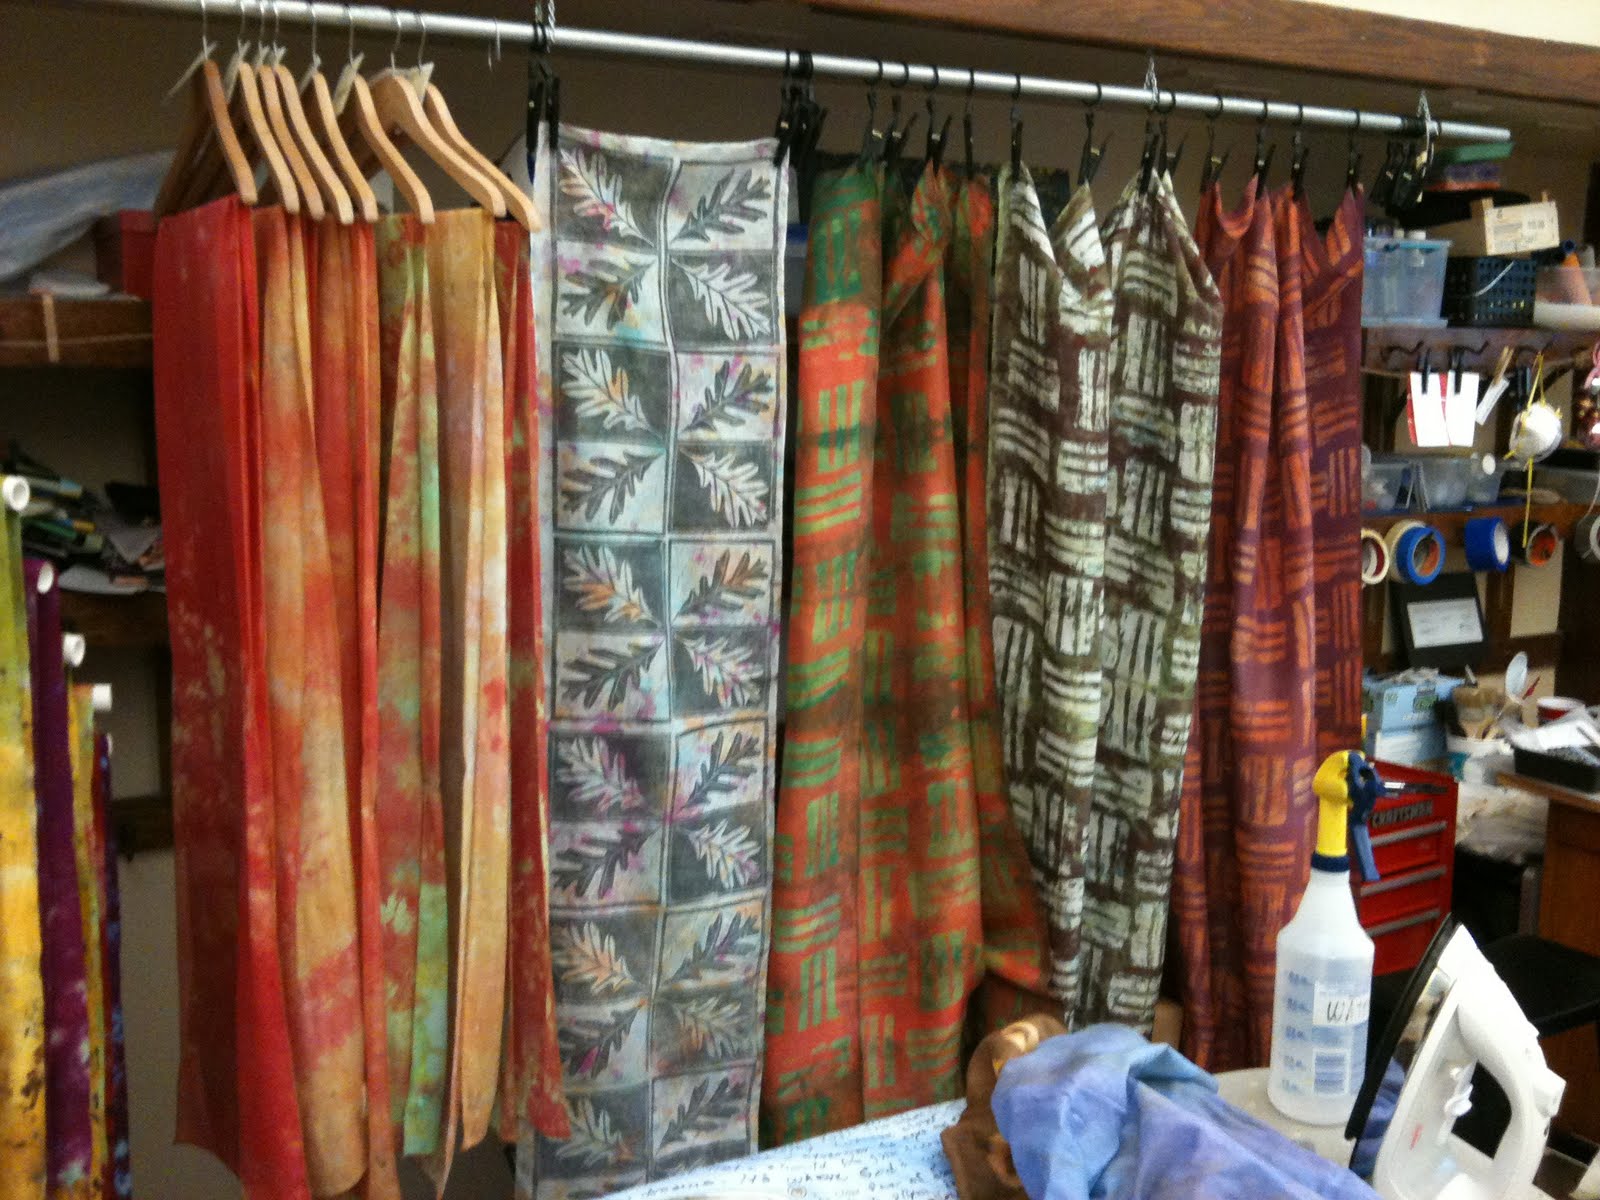
So much sewing and so much ironing, but it's worth it because I'm doing good work and that feels good. There's still a lot of cleaning to do in the studio before tomorrow night, but here are a few pieces hanging up. I'm really happy with my recent batik pieces. The 3 pieces hanging on the right are all silk habotai. They're beautiful in person. I priced them at the top end of my range, but that's probably still underpriced. The work is easy compared to trying to figure out how to price the end result.
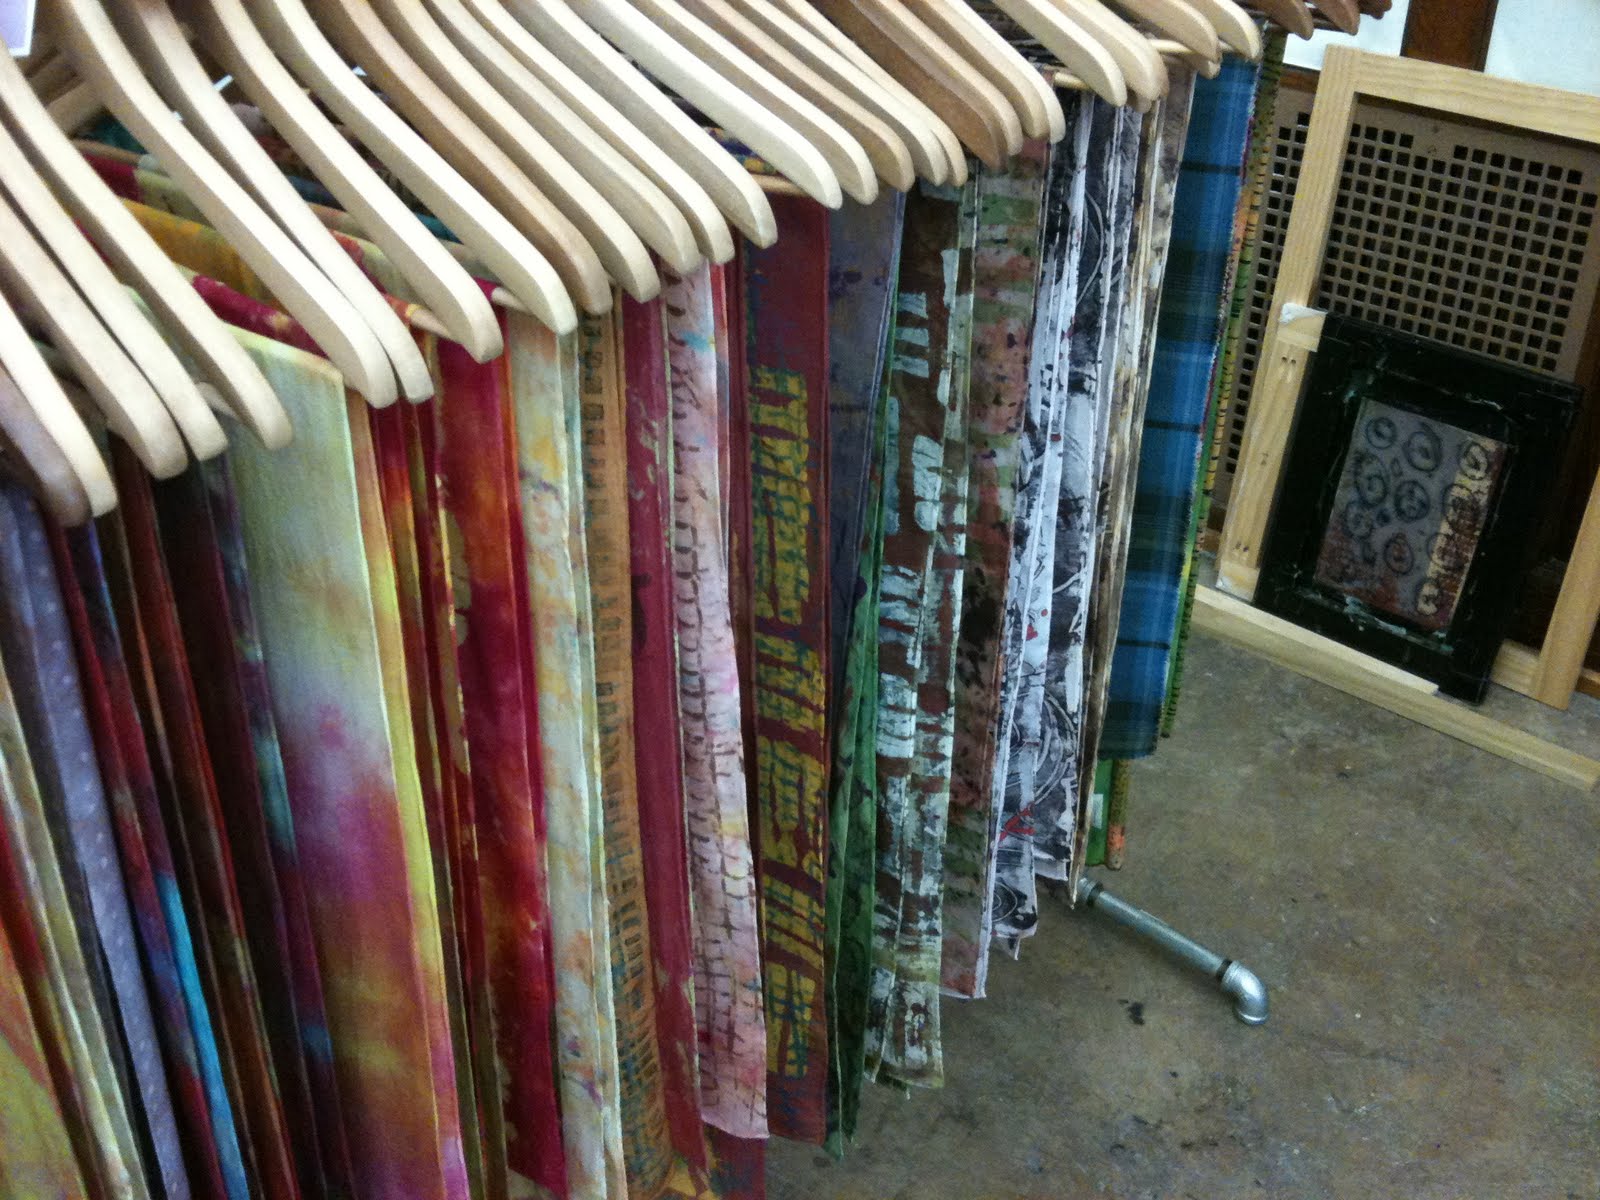
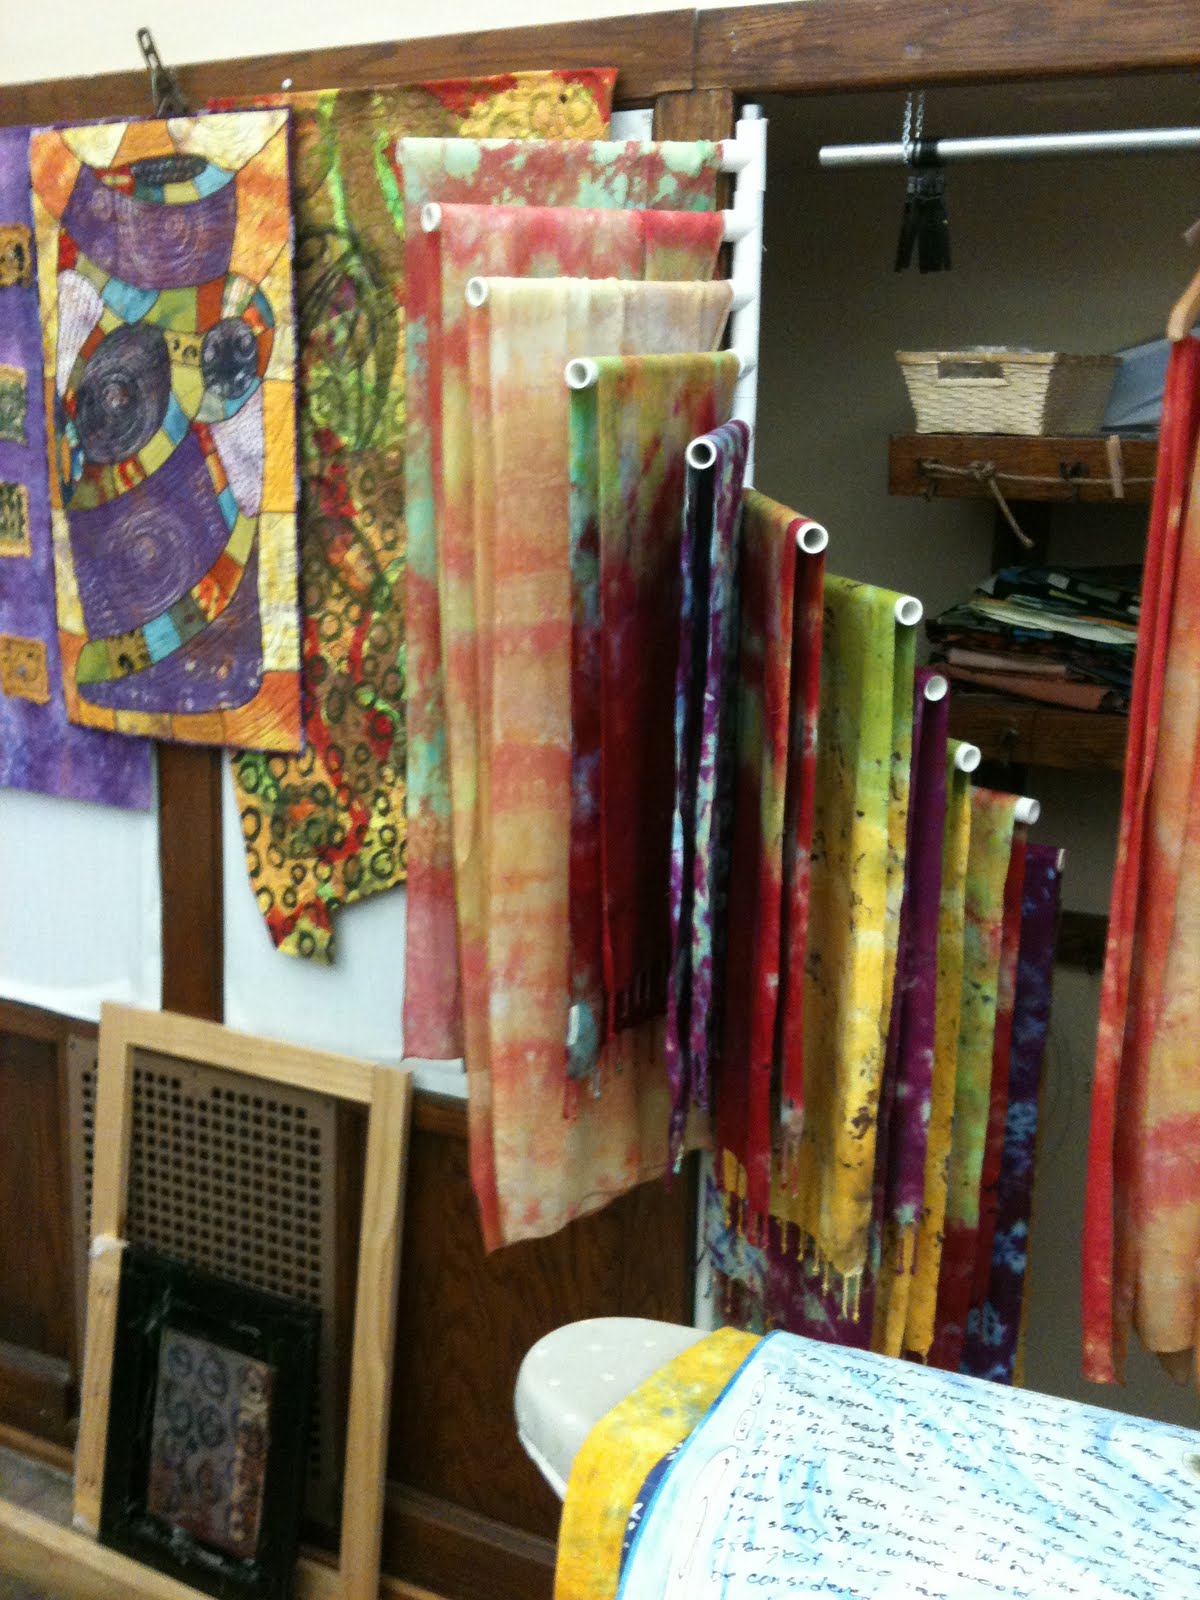
Open studio all weekend starting Friday night.
Layers upon Layers: Day 5 and beyond
I've been home from Ohio for a week. I drove home last Saturday and I'm please to say that all went well with the trip. I've been having trouble with my eyes for the last year (since the surgery) and I was really concerned about managing a 6.5 hour car trip without any double vision or ocular migraines, both of which are triggered by stress, fatigue, and eye strain. It was smooth sailing. So anyway, the last day at the Barn was good. I did some tests with fabric paint using materials and methods that I hadn't used before. I've always screened, painted, or printed with fabric paint and other acrylics, but rollering/rubbing (which I've done successfully with dye) was new to me. I'm happy with the results and I think I've got some ideas for some new layering.
The first shot below shows a transparent paint (mixed from ProFab Extender and pigment). All 4 images were created from a simple collograph:
- Upper left: rollering paint with a dense foam roller over fabric placed on top of the plate
- Lower left: rollering paint onto the printing plate then hand rubbing a print with dry fabric
- Lower right: same as #2 but with fabric lightly dampened with a spray bottle
- Upper right: a sort of modified monotype print created by rollering paint onto plastic sheeting then stacking the printing plate, fabric and plastic sheeting (paint side down) and rubbing.

This second image is a set of similar prints made with opaque black ProFab paint.
- Upper left: rollering paint with a dense foam roller over fabric placed on top of the plate
- Upper right: rollering paint onto the printing plate then hand rubbing a print with slightly damp fabric
- Lower left: a print taken by rollering over some yarn couched to a piece of fabric (instead of the collograph.
- Lower right: the collograph plate after all was said and done.

Lessons
- There's layering potential here.
- The couched yarn is the most exciting image.
- The roller imparts a certain amount of texture on its own.
- A small roller creates marks that contribute to the overall story/feeling of the print. perhaps more than a wider roller would.
- I'm going to start mixing all of my paint from primary pigments instead of primary paints. There's more control and it makes more sense than holding an inventory of aging paint in colors that I might use infrequently.
Bottom line for the week
Carol's new class was great and I recommend it for anyone who is interested in exploring the concepts of layering line, shape, technique, texture, color, and meaning; all while playing with sequence of those things. I've taken both of Carol's color mixing classes and definitely benefited from that experience in this class because I had no anxiety about handing the dye primaries. That said, there were quite a few people in the class who did not have that experience and got along just fine with the hand outs and some direction from Carol. Basically it's a good class for any surface designer looking for a time and space to try new things and have their familiar ways of working shaken up a bit.
Layers Upon Layers: Day 4
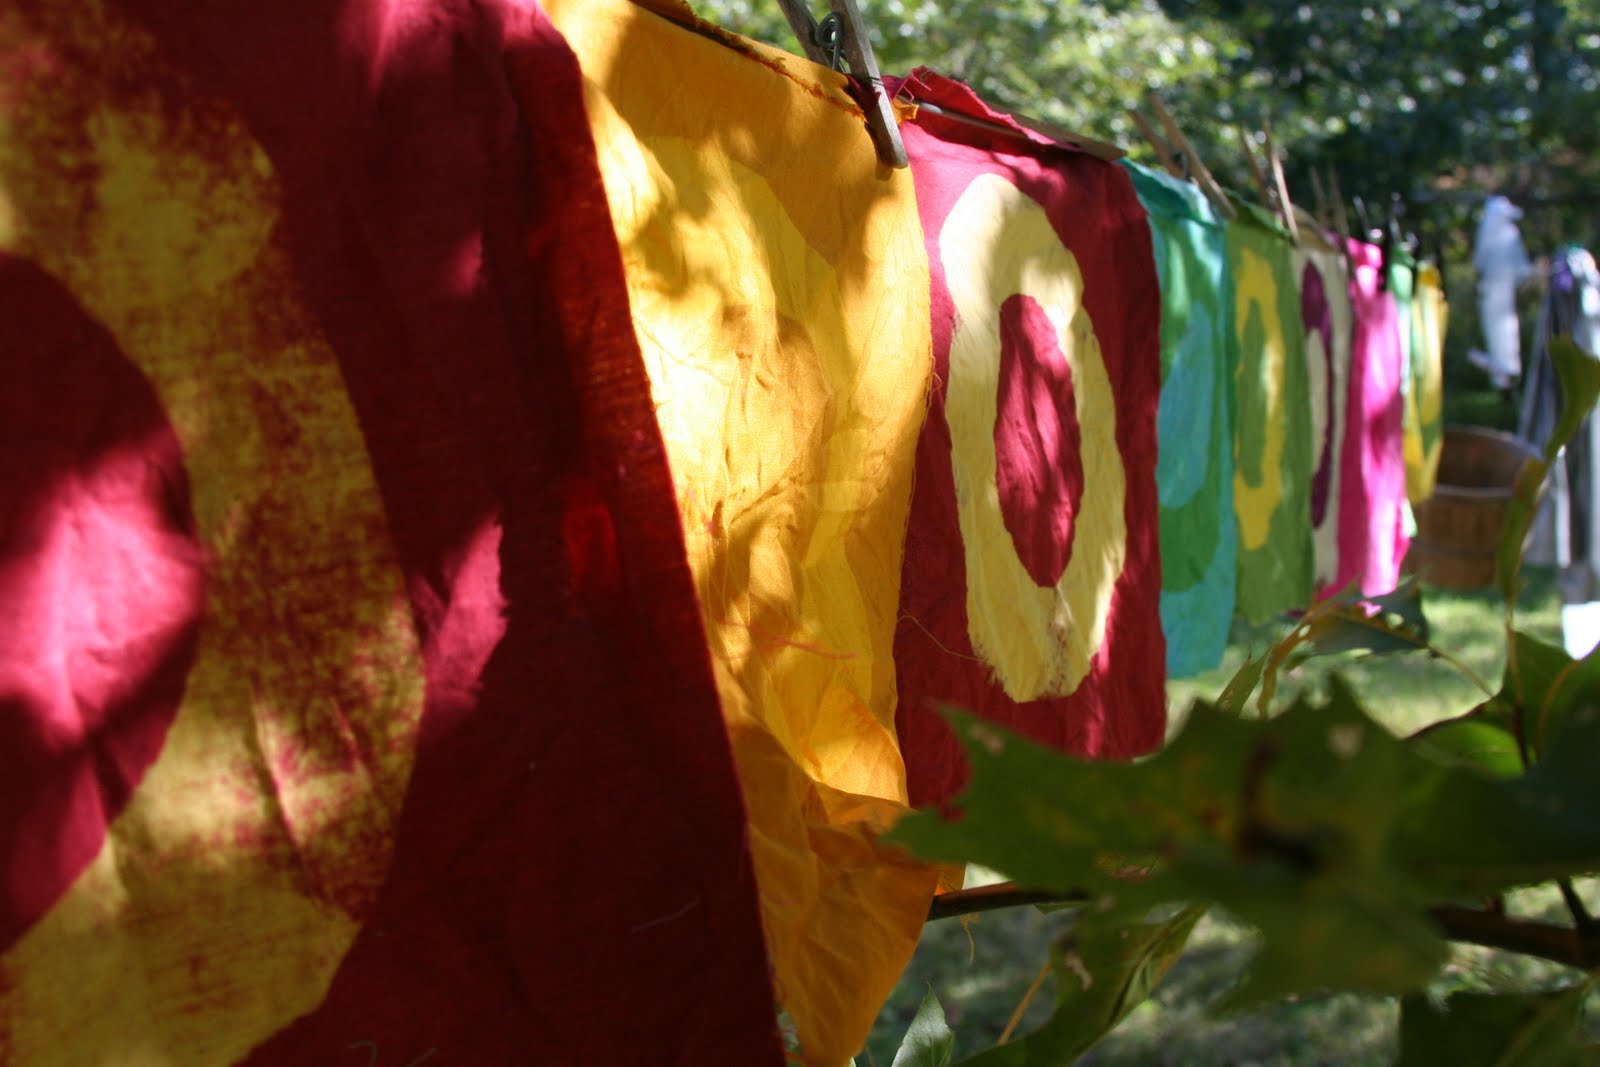
It was a busy day. I spent some time documenting the work I've done this week and thought about some of the opportunities for moving forward. Tomorrow I might do a bit of piecing with what I've created. Most of my effort today went into discharging some solids that I have with me in preparation for further work--possible restructuring comes next--not sure.
Layers Upon Layers: Days 1-3
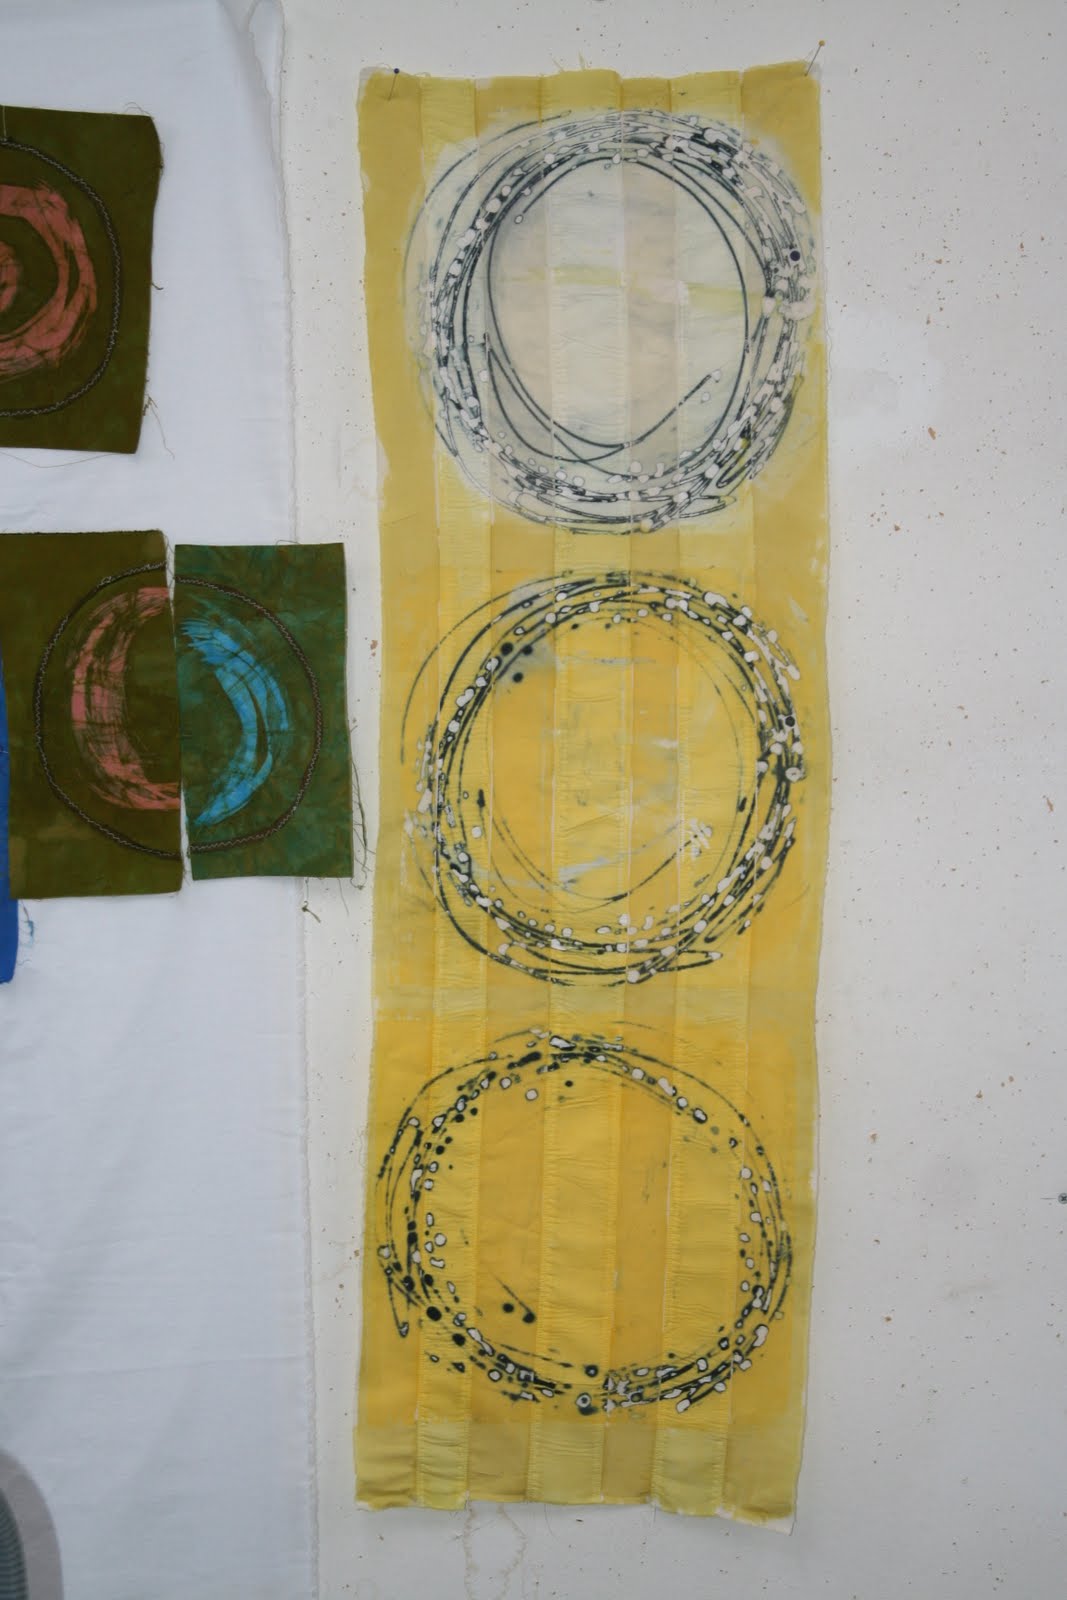
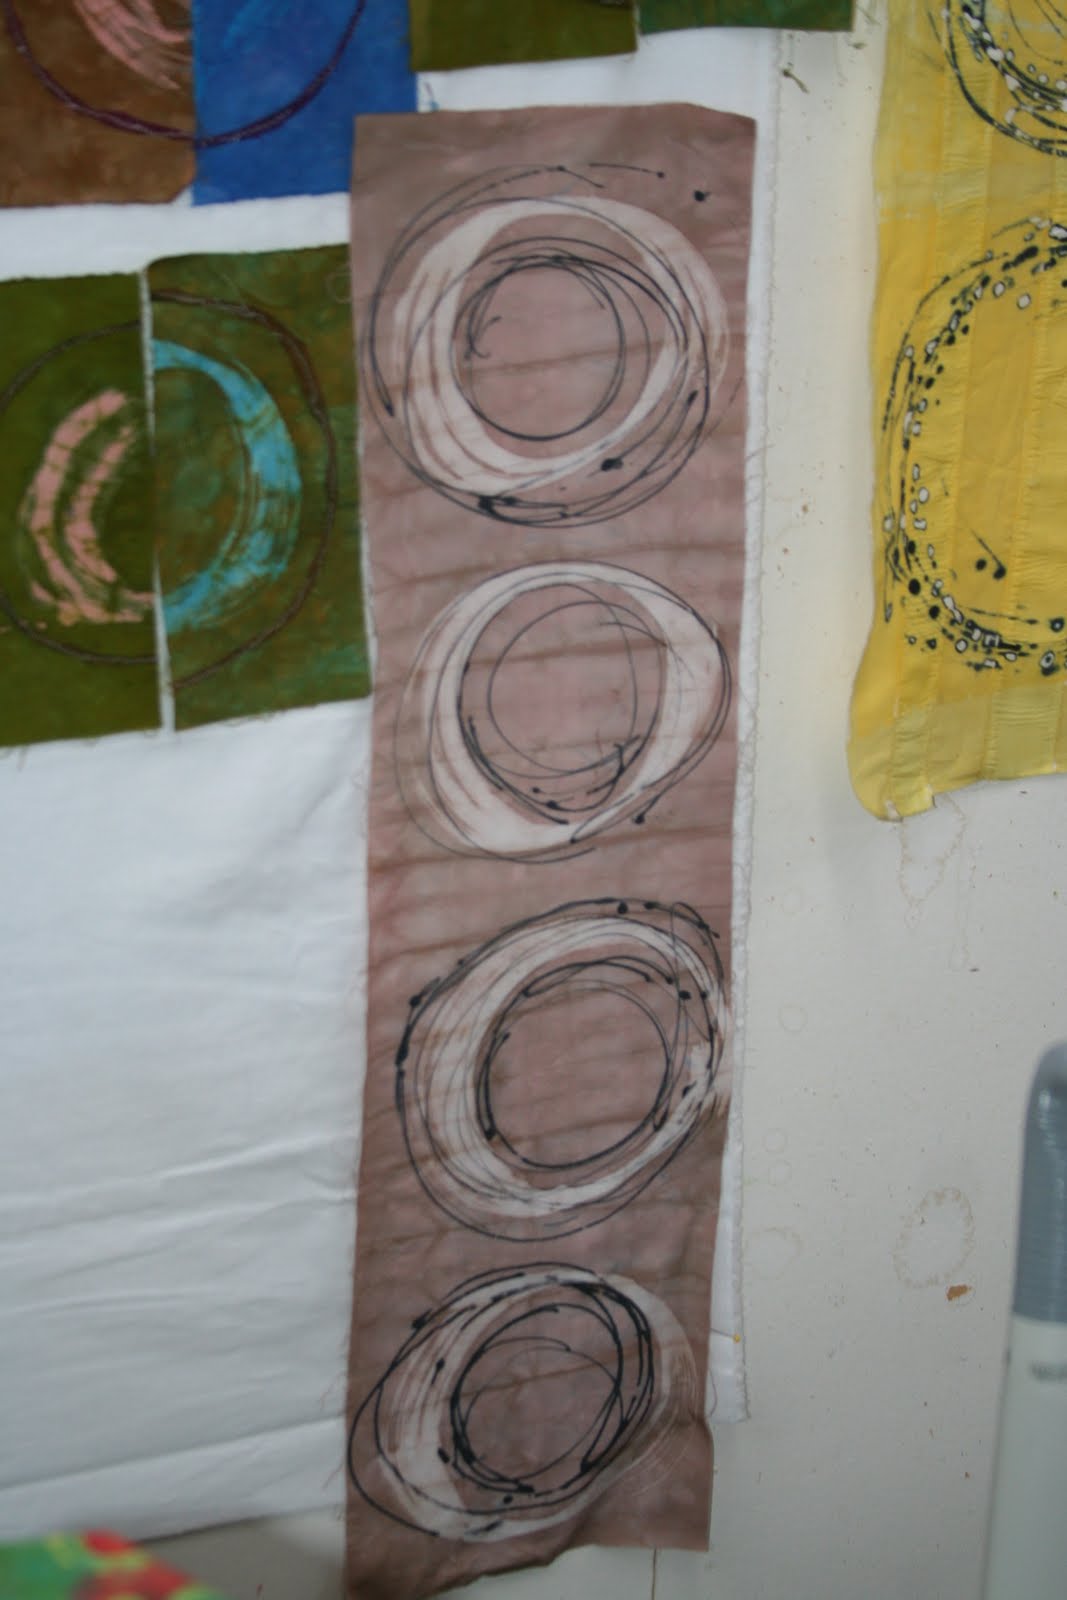
I think I'm getting some good work done this week. I'm still at the Barn, but this week taking Carol Soderlund's new class, "Layers Upon Layers." I'm glad that I've already taken Color Mixing I & II because I can focus the sequence of process and on color and zone out a little bit on the during some of the "How does this work?" question. Now, having said that I can also say that I've learned some new things about starch resists and fabric paint.
Back to the Barn
Yesterday I got a massage (truly wonderful and cheap compared to DC prices), had a little nosh, bought supplies for Carol's class (including dye studio clothes, which I didn't bring with me), watched a movie, napped, ate chinese takeout, and when to bed. After last week I was exhausted and a day of nothing was just what I needed.